Year 2 – Cider Making

2015 Cider Making 1What a gorgeous morning to start cider making (hard cider to our friends in the US)! I’d booked the scratter and press from Melbourne Area Transition a few weeks ago, giving us time to pick the apples that were ready to crush, and leave them outside for three weeks to ‘sweat’ – if the weather had been wetter then we’d been advised to move them under cover as heat and wet can spoil them.
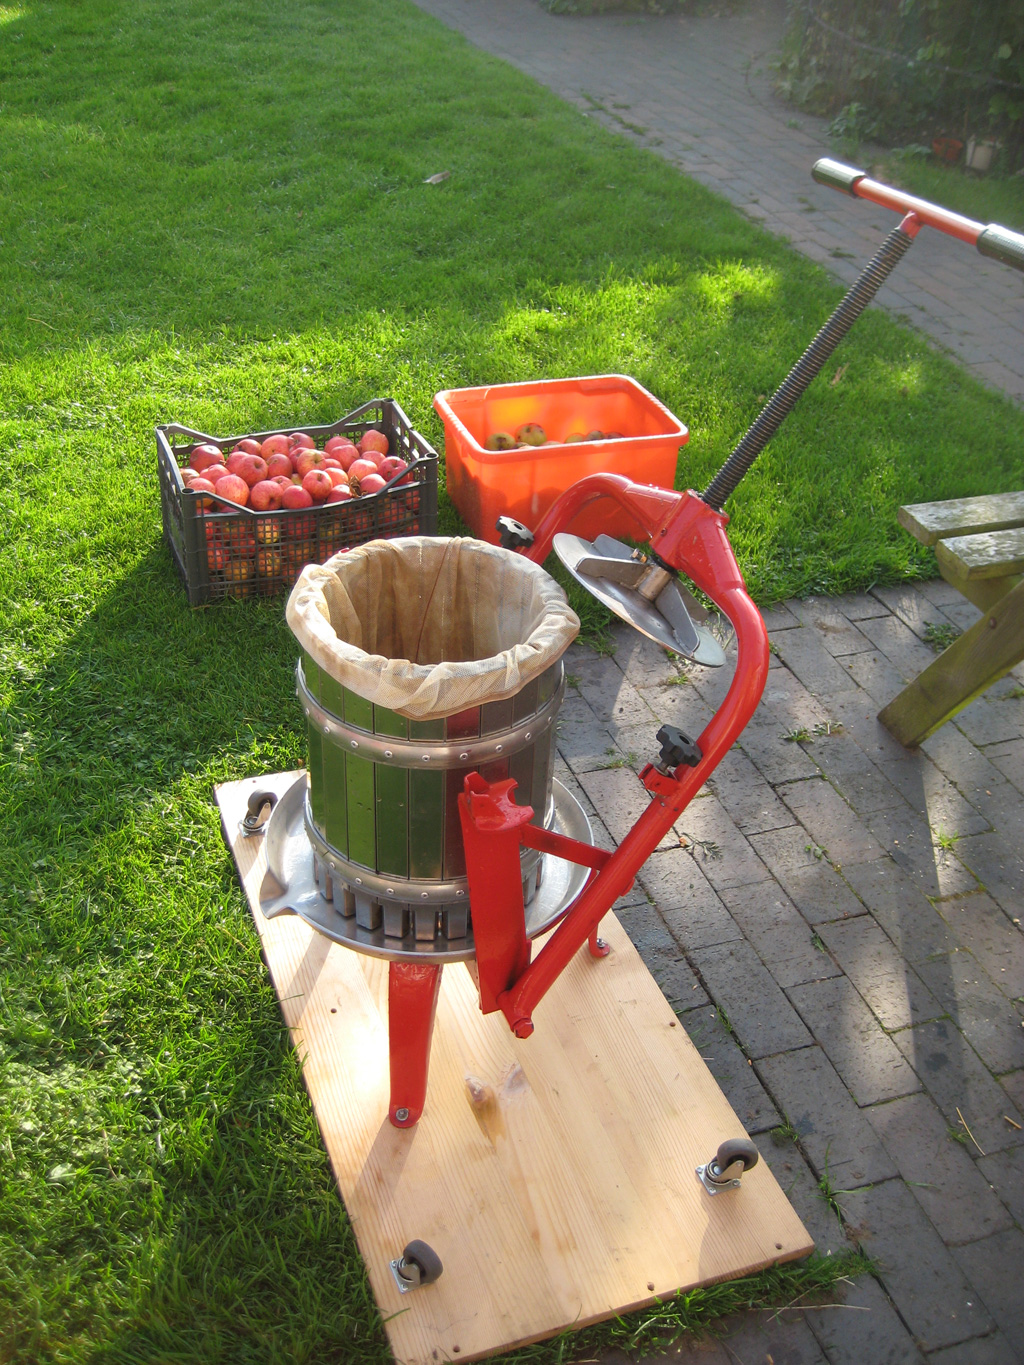
2015 Cider Making 2The press was a 20 litre cross beam press – a bit larger than our 5 litre spindle press, which really isn’t useful for any quantity of cider, but probably more suited for crushing soft fruits for juice.

2015 Cider Making 4The scratter could take around six whole average-sized apples in one go, or you could fill the hopper with cut apples. I chose the first method as it was easier with only one person, but it was a doddle!
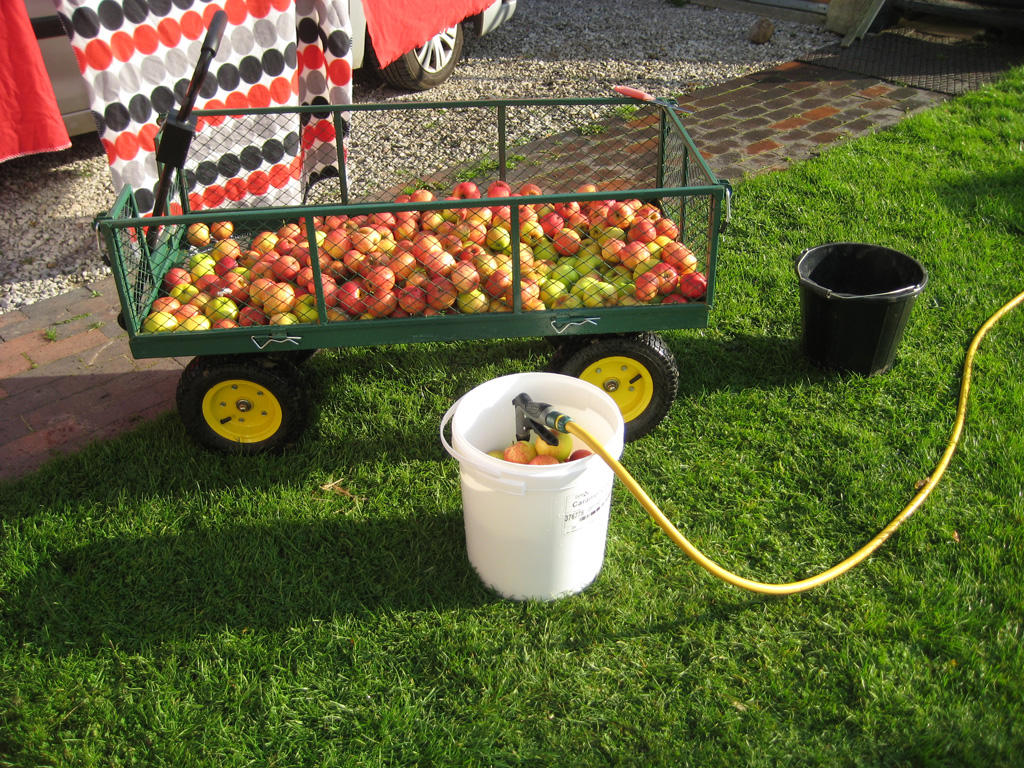
2015 Cider Making 3The apples we used were roughly 60% dessert, 30% culinary and 10% cider. I had grand ideas of a ‘mix’ of certain types, but when it came down to it I took what we could get – around a third came from our lovely neighbours at number 1, the rest we scrounged from our trees – there were definitely Warner’s King, Elton Beauty and Catshead – the rest I really can’t remember, or I don’t know – hopefully next year I’ll be more organised!

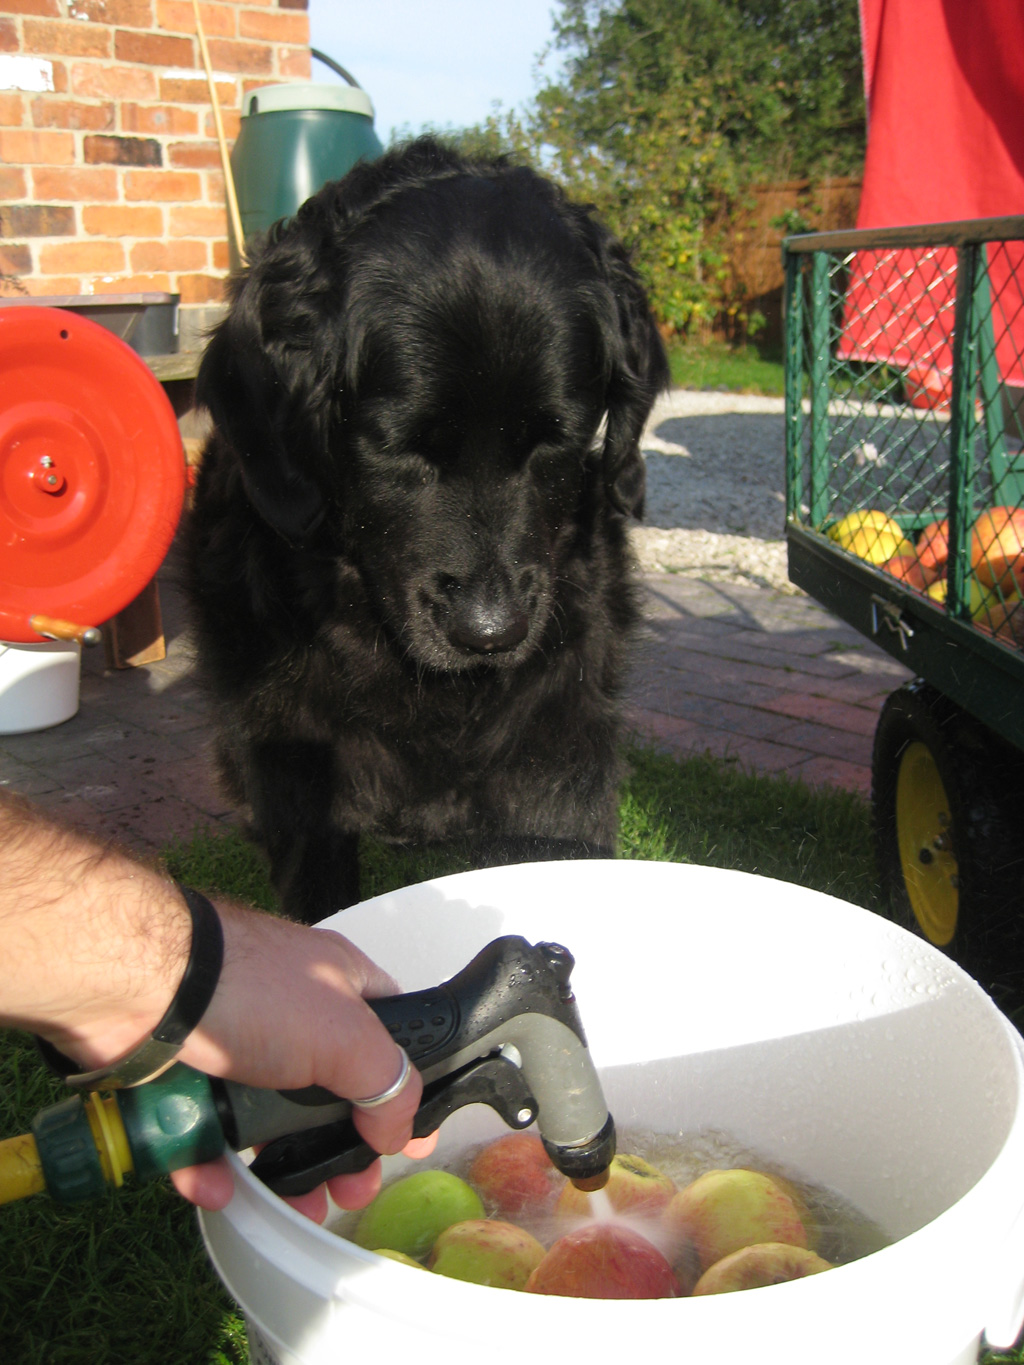
2015 Cider Making 5The cider making method was simple – apples began in the green cart, a half bucket loaded into the white bucket, hosed down, washed around and inspected by Penny, who would have jumped in the bucket if there had been the slightest chance she’d fit! Then six at a time were dropped in to the scratter and munched into tiny pieces. It took about one full washing bucket to fill the smaller 2 gallon bucket which sat under the scratter. Two of the 2 gallon buckets of pomace filled the 20 litre press (don’t you love mixing imperial with metric?), so basically 2015 Cider Making 6two stints on the scratter for every stint on the press, and the press gave between 4 and 5 litres per pressing (that’s the white pouring jug under the press). The pomace left over after pressing didn’t feel as dry as that from the spindle press last year, but the pieces of apple seemed a bit chunkier than last year, so maybe that had something to do with it? Or maybe because we’d let the apples sweat some of their juice out – who knows!
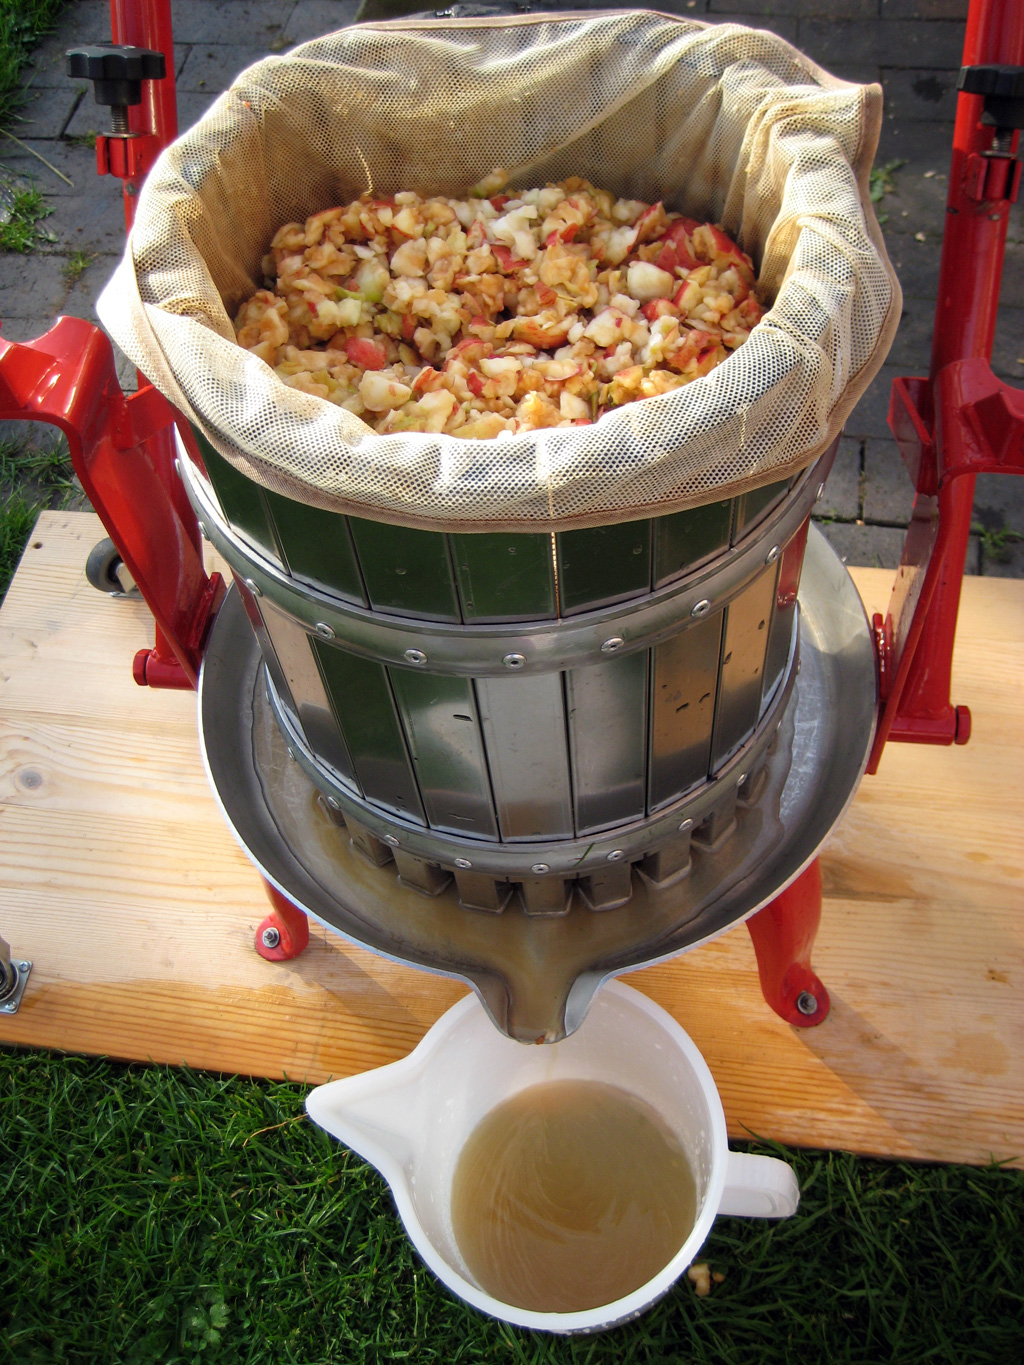
Anyway – it took me about 6 presses to fill my 7 gallon fermentation bin, and about three hours in total, maybe a bit more. Assuming it works, that’s around 55 pints (assume one lost to keeving later into another vessel) – not bad for three hours’ (enjoyable) work! Last year was heart-breakingly slow, with our tiny press, and I expected this year to feel as bad – in terms of the effort-to-produce ratio.
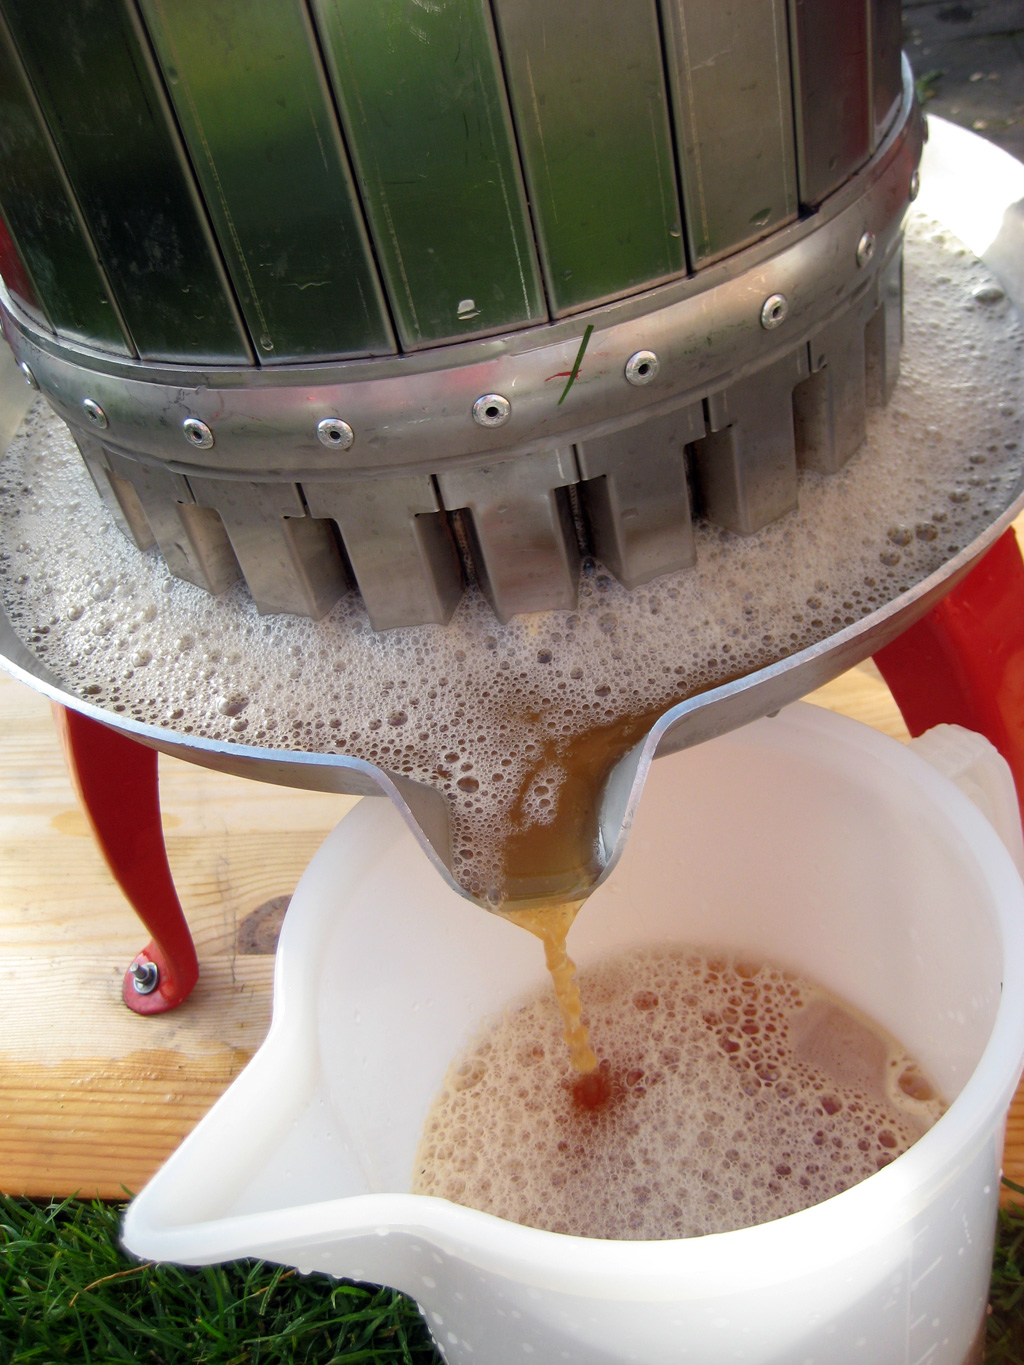
2015 Cider Making 7But this cider making experience was a whole different ball game! To see the juice pouring from the press was a beautiful sight – and makes me realise that we need at least a 40 litre press. We really do need to decide in which direction to take this, once we have some experience under our belt? Do we stay as hobbiests, making our own product for friends and family to enjoy, or do we expand the idea to create a mini business that can self-fund? We’ll have plenty of apples to play with, there’s no doubting that! Plenty of time to worry about that, and for now it’s great that people like Melbourne Transition rent out kit that can suit a serious hobbiest.

A quick reading of the Specific Gravity showed 1.046, at a room temperature of around 19 degrees, which is fine. Again, as last year, I’ve decided not to sulphite, to rid the juice of wild yeast. That would mean adding a known yeast back into the cider, but I quite like the idea of seeing if natural yeast, present in the air and on the apple and pressing equipment, can do the job for us. Health-wise – sulphites can cause problems with people suffering from asthma, or people with allergies to sulphites themselves.
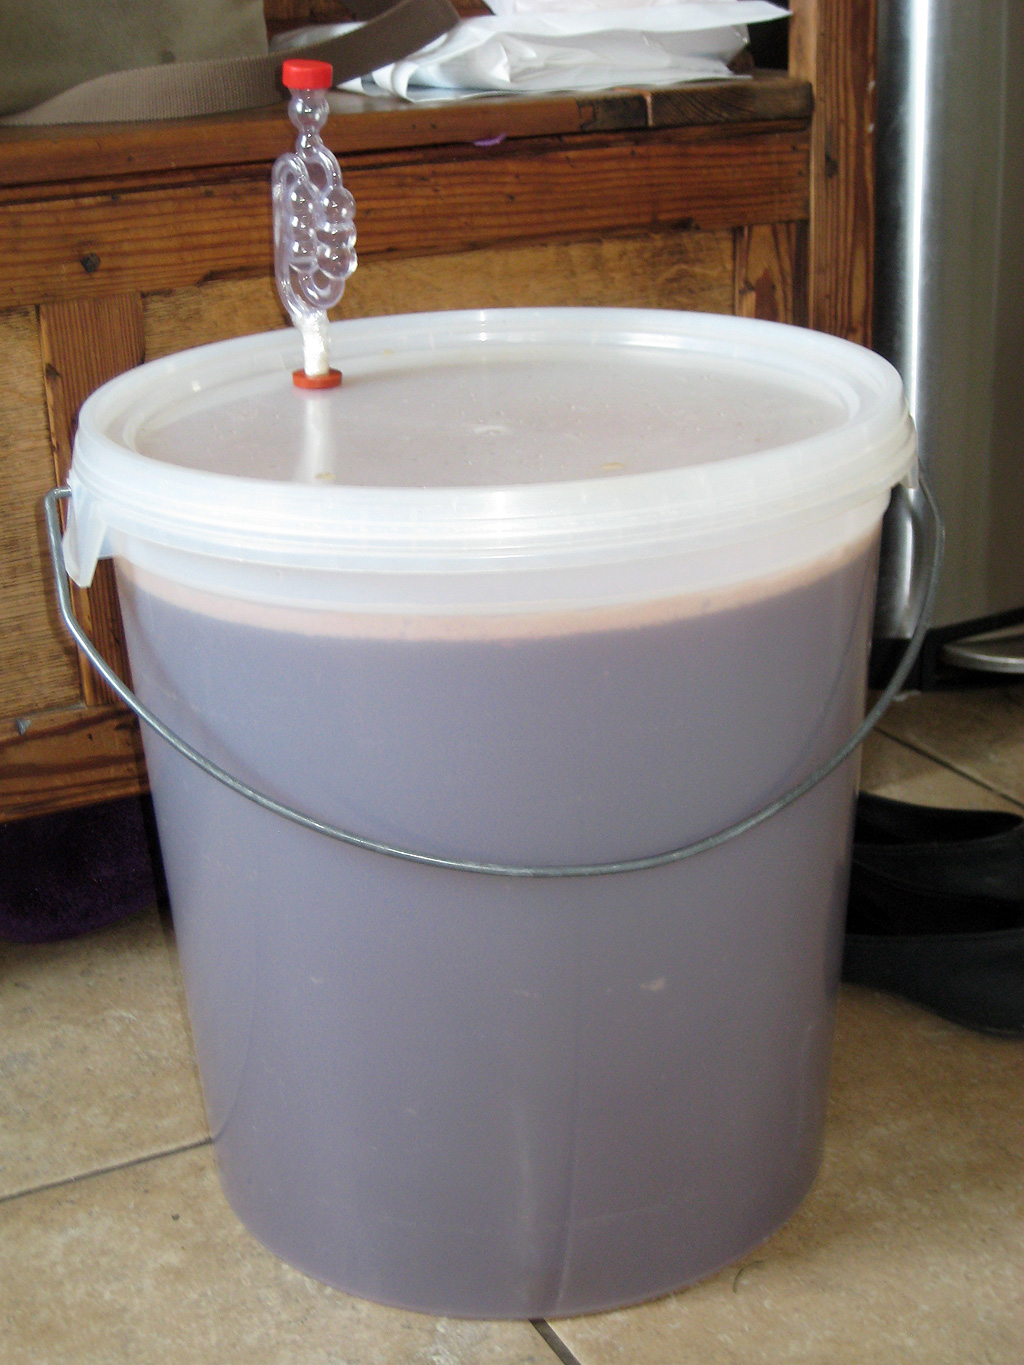
2015 Cider Making 8As it was, Jay and Smiler came back from school just as I’d finished – impeccable timing! Seeing the press, the dived right in and pressed out another 4 litres of apple juice from the Forfar tree – a light and slightly acidic juice, but then we may have been a bit early picking them. It only seems fair to press something they can also enjoy.

Despite that being the end of our first cider making day, we’re not done yet – we have some later maturing varieties on the trees still, so hopefully we’ll do another pressing come late November, early December 🙂

Apples Picked and Ready to Go!

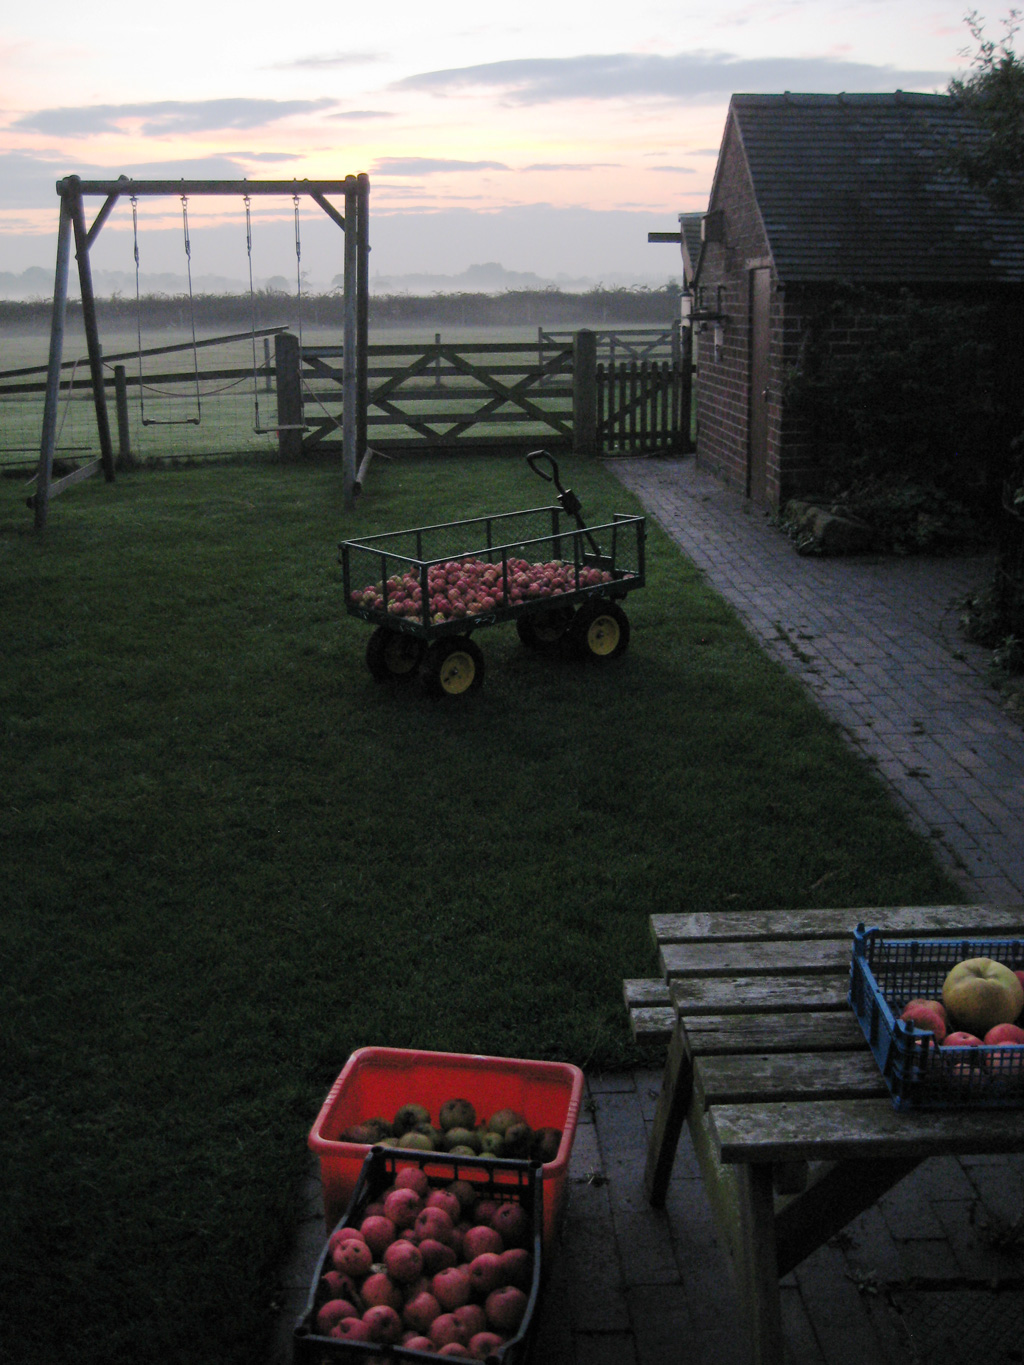
2015 ApplesOur first two batches of apples, ready for cider making! The barrow in the foreground is two thirds dessert (eaters) apples from our lovely neighbours at No.1 – types unknown (apples – not neighbours!), and one third culinary (cookers) from our orchard – type I really should remember but I don’t!

The trolley behind is using Tremlett’s Bitter, Slack Ma Girdle and a cooker, again, not entirely sure which. It should have been Catshead, and next year it will be, but we ate them all as they fell! Talk about organised 😀

We’ll leave them outside for three weeks to “sweat” – to give the starch a chance to turn to sugar. We’ll do an iodine test then, to make sure all is ticketyboo, and then hopefully get on with it!

Cider Making Thoughts

I’ve been reading this book – “Craft Cider Making” by Andrew Lea. It’s a mine of information, and my head’s full to popping. Not being a natural chemist (I’m more of a monkey-see monkey-do type of person), I’m still getting my head around things, but as ever I thought I’d write down thoughts here, so I can learn from mistakes and successes.

The jist of a decent cider seems to be to get the balance of certain key elements right, to get the flavour you’re after. The three key elements are sugar, malic acid and tannin. Last year we made a cider using culinary and dessert apples, which produced a sharp and acid cider, similar to that made in the South East of England. It was good – it tasted like cider, but a part of me wants to make something a bit more ‘West Country’ or ‘Normandy’. To that end, this year I’ll be looking to use our cider apple varieties, which seem to be available in a decent enough number to have a go. To try and make life easier, I’m choosing to mix varieties that should ripen at a similar time, to save having to blend juices at a later date.

The first cider will be made from:

  • Tremlett’s Bitter
  • Slack Ma Girdle
  • Catshead

The first two apples are cider varieties, the latter being a culinary apple. Tremlett’s Bitter is a Bitter Sweet apple, ripening in Early October. Slack Ma Girdle is a Sweet apple, ripening in October, and Catshead is a Sharp apple, ripening in early October. The Catshead is used to raise the acidity of the mix, which might otherwise be out of the desired range.

The second cider will be made from:

  • Dabinett
  • Medaille D’Or
  • Newton Wonder

Again, the first two apples are cider varieties, the latter being a culinary apple. Dabinett is a Bitter Sweet apple, ripening in November. Medaille D’Or is also a Bitter Sweet apple, ripening in November. Newton Wonder is a Sharp apple, ripening in mid October. The Newton Wonder may have to be fermented earlier than the two cider apples, but I can blend the fermenting Newton Wonder cider with the juice from the cider apples once they are pressed, to allow them to all continue fermenting together.

I also plan to leave the apples outside for three weeks to allow the starch present to turn to sugar, which the yeast will feed on. Having had good success with the wild yeast method last year, I’m going to go that route again – leaving nature takes its course on the pressed apple juice.

This year I will also attempt to naturally carbonate the cider, by bottling it at a Specific Gravity (SG) of 1.005 (Edit 04/11/15 – Andrew Lea of The Wittenham Cider Portal recommends 1.003 might be more prudent, to help prevent bottle bombs). If this fails, if the cider moves below that, I can add a level teaspoon of sugar to each pint at bottling stage. This way they will continue to ferment slightly in the bottle, allowing the CO2 to saturate the cider.

I’m moving to swing lid bottles rather than capping them. As it’s for our own use, they’ll be worth it in the long run, and I damaged a couple of bottles last year whilst trying to cap them – which was painful.

First Cider!

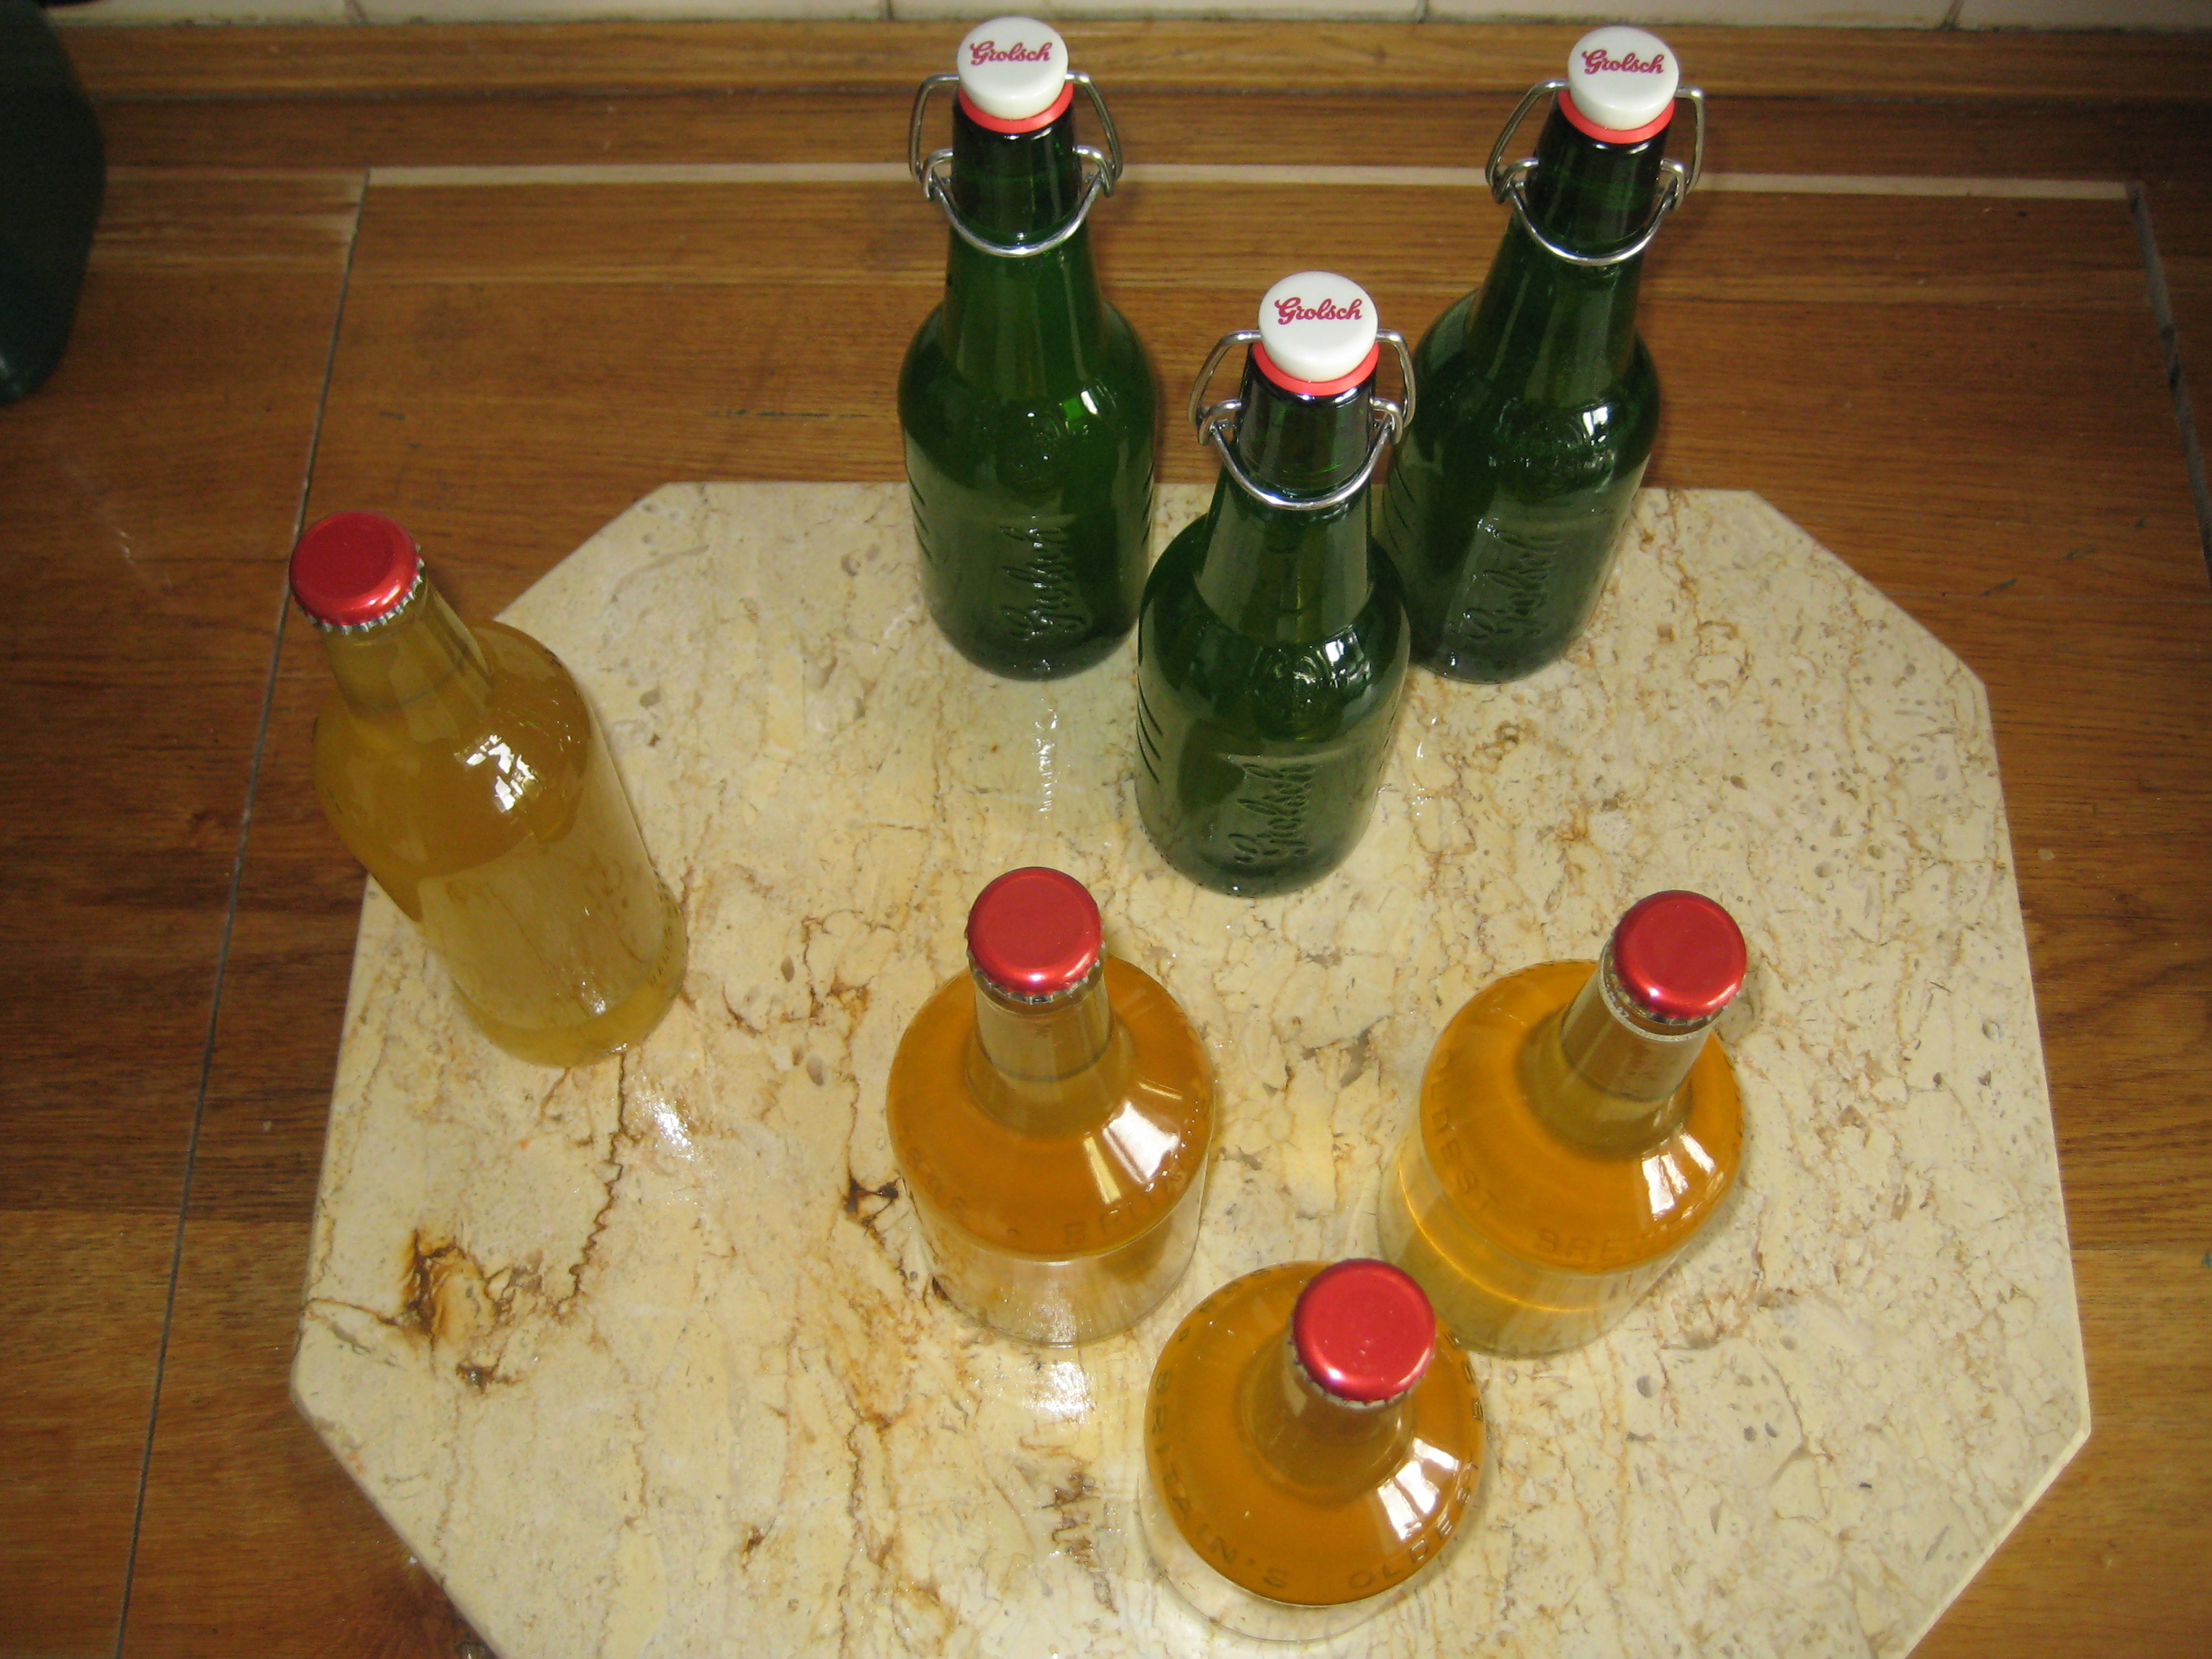
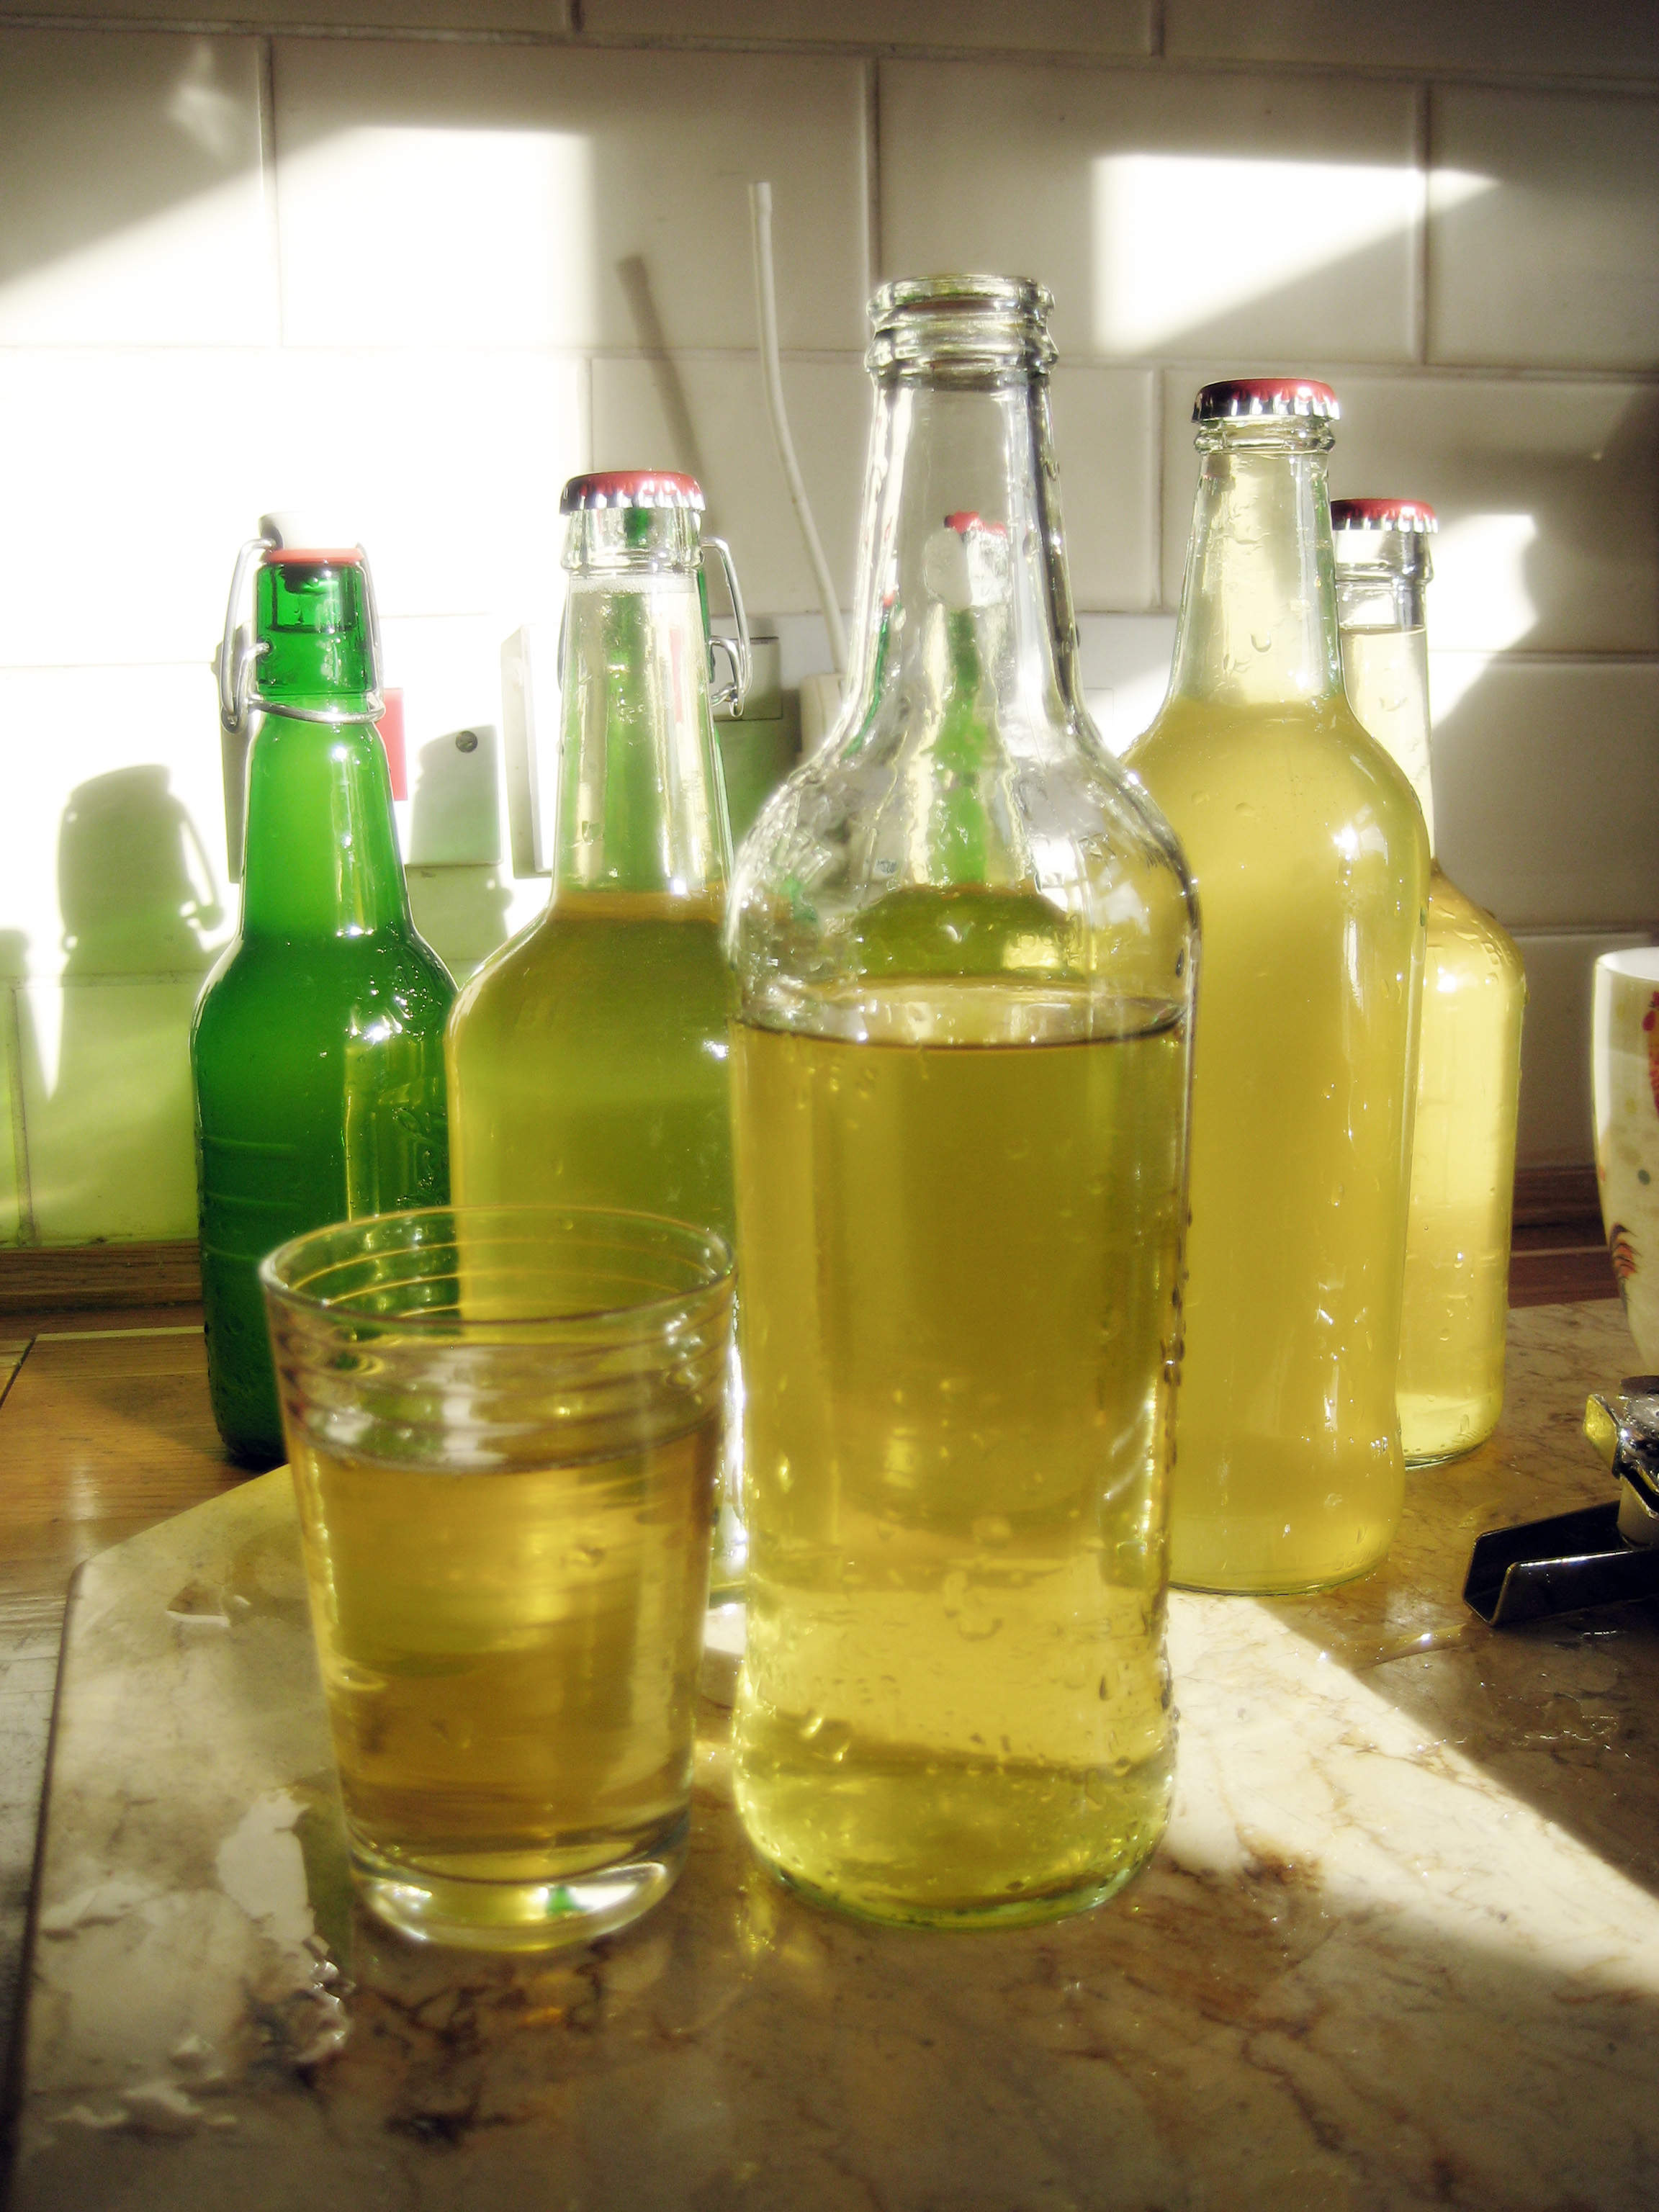
Cider No.1 Front ShotIt’s here! Our first cider was finally ready for bottling – all 7 bottles! Considering the amount of time it took to make, it’s probably the most expensive cider in the world 🙂 On the plus side, it tastes like cider! A dry, light bittersweet taste, very refreshing when chilled. I am amazingly chuffed it went so well, and it’s a thumbs-up to the wild yeast method of brewing – let’s hope the next batch is as good, if not better!