Second Weekend in the Patch

I swear someone has sped the Earth up – each year passes faster and faster! Last weekend we had our first day in the patch, tidying up odds and sods, ready for the year ahead. It’s always a good feeling, starting over again, with thoughts of how things will be done differently from previous years, or the same if they proved a good idea. The geese were extradited from the hay quarter, to let the grass grow! They seemed happy to be back in the big orchard, their summer home, but their attitudes are definitely taking a turn for the worst, with breeding season upon us. The orchard pruning was also completed, with large cuts covered in Arbrex, smaller cuts left to heal on their own. Mole hills are popping up as they get ready for the new year, and their hill earth we squirrelled away to top up the raised bed, as it’s great stuff! Compost bins were emptied, and seeds bought for the year ahead.

Today, I spent the morning on a late hedge cut, after first checking for any new nests. Suz and Smiler cleared away hedge cuttings from a hedge next door at the farm, which has been laid and looks amazing. Jay took on the mantle of chief seed sower, and popped the following into propagators for indoor germination.

  • Lyon (Prizetaker) leek
  • Monarch celeriac
  • Green Magic F1 hybrid broccoli
  • Golden Acre (Primo III) round summer/autumn cabbage
  • All the Year Round cauliflower
  • January King 3 (savoy) winter cabbage
  • Evesham Special brussels sprout

After a lunch which saw us prise open Smiler’s first ever jar of home-made pickled onions (they were fantastic, he made them from growing to pickling), Suz and Jay took it on themselves to clear some of the rubbish on the lane where we live, Smiler scattered chicken manure fertiliser around the various trees and bushes, whilst I rotovated the onion patch, ready for planting out the sets tomorrow. I also got carried away with de-twitching the couch grass that had worked its way into the onion patch, have I mentioned how much I loathe that stuff? We’ve a plastic field trough set aside for weeds this year, which we’ll fill with water and drop any weeds into. Over the year they’ll rot down into great fertiliser liquid and we don’t waste any of the nutrients tucked away in them.

 

Planting a Beeley Pippin

Typically the middle weekend of March is the first day we tend to end up down the patch. Nothing to do with any archaic tradition, or bizarre need to get down and dirty with the soil after being shacked up inside over winter. Just that things need doing for the year ahead, and it’s barely warm enough to get outside and do them! The year before last year the geese took it on themselves to nibble a neat, goose-head-high ring of bark (ring bark) from the Beeley Pippin in the big orchard, on MM111 rootstock. Once the layer of bark has been removed from a tree, from every side, the nutrients from the roots can’t flow up to the branches, and the tree dies. Luckily for us it happened in the late summer, and there was enough strength in the branches to keep the tree alive until it entered its winter dormancy period. We pulled it up, but first saved some scions from the healthiest branches, and grafted them. Today was the day we introduced one of the graftings back into the orchard, in the corner furthest from the geese as you can get, for its own sanity. A neat 3′ wide hole, a scattering of blood and bone, and a home made hare guard made from 6mm weld mesh all helped it settle in.

Suz in CompostSuz on the other hand must have taken the idea of getting down and dirty with the soil literally, and can be seen standing inside a compost bin. I hasten to add, nothing at all to do with the fact it needed emptying into the adjacent raised bed, and as you can see, the compost bin is rotated 90 degrees to all the others in the line, with the pull out side facing another compost bin rather than side-on, meaning only Mr Tickle could have emptied it whilst standing outside! Oops.

Dandelion Coffee

Dandelion Root Coffee

Right – over the last few years I’ve made it my passion to remove any dandelion I see in the patch. I’ve seen a field not too far from us, heaving with them, and I know how much of a pain it is to get rid of them. Therefore, every spring will see me armed with fork and barrow, marching through the patch, pulling dandelion after dandelion – it’s war on a grand scale, and the enemy is relentless.

I daren’t compost them, so I probably bin at least four barrow loads of them every spring, then another barrow load come mid summer when they have their second burst. But it seemed such a waste. I dislike moving stuff from our land, as I know things like weeds tend to carry an awful lot of goodness, wrapped up in their spikes and stings and wafty leaves. So to search out a use for our dandelions. Earlier this year we tried the young leaves – a bit bitter for my taste, though I’ve heard cooking them down rids them of that. We’ve yet to try the young buds lightly fried in butter, but I also read that you can use the roots to make dandelion root coffee!

Today was that day. I’d just pruned another two plum trees, gradually working my way through the orchard work. I’d noticed the dandelions popping up after a rest of a month or so, and decided this was the moment to have a bash at home-made low-caffeine coffee.

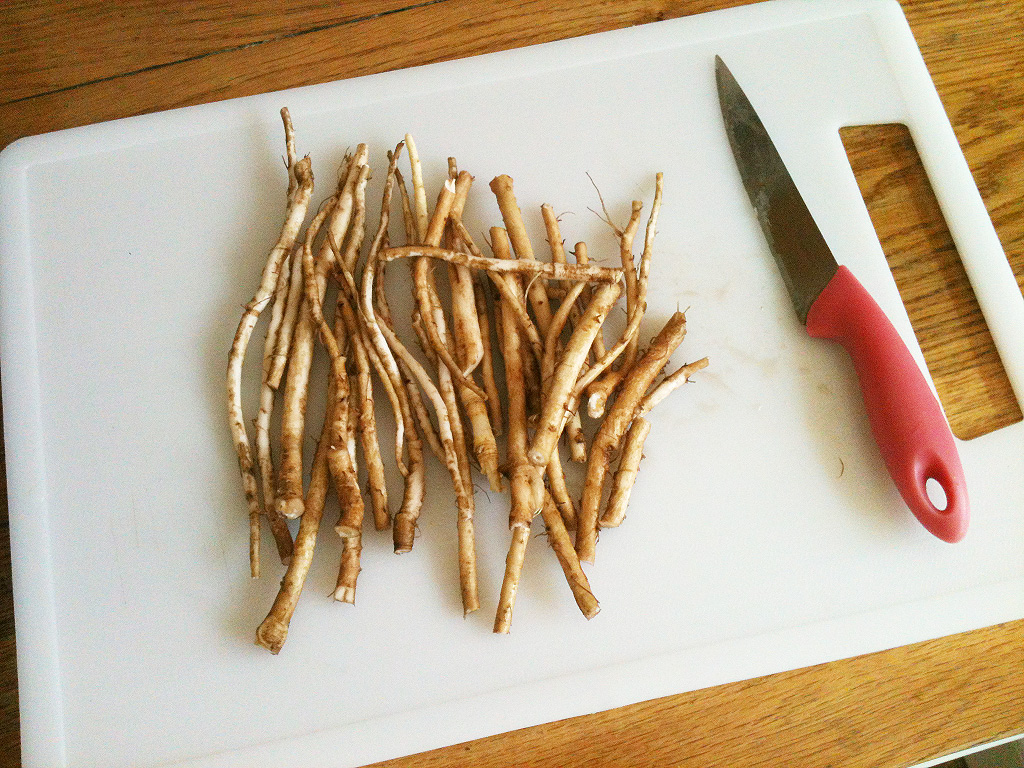
dandelion_coffee_1Firstly I picked around 20 of the choicest roots. None of these dandelions were huge, so all the roots were between 8mm and 3mm in width. Then a darned good scrubbing with the potato brush, to get rid of the soil, and a top and tail.

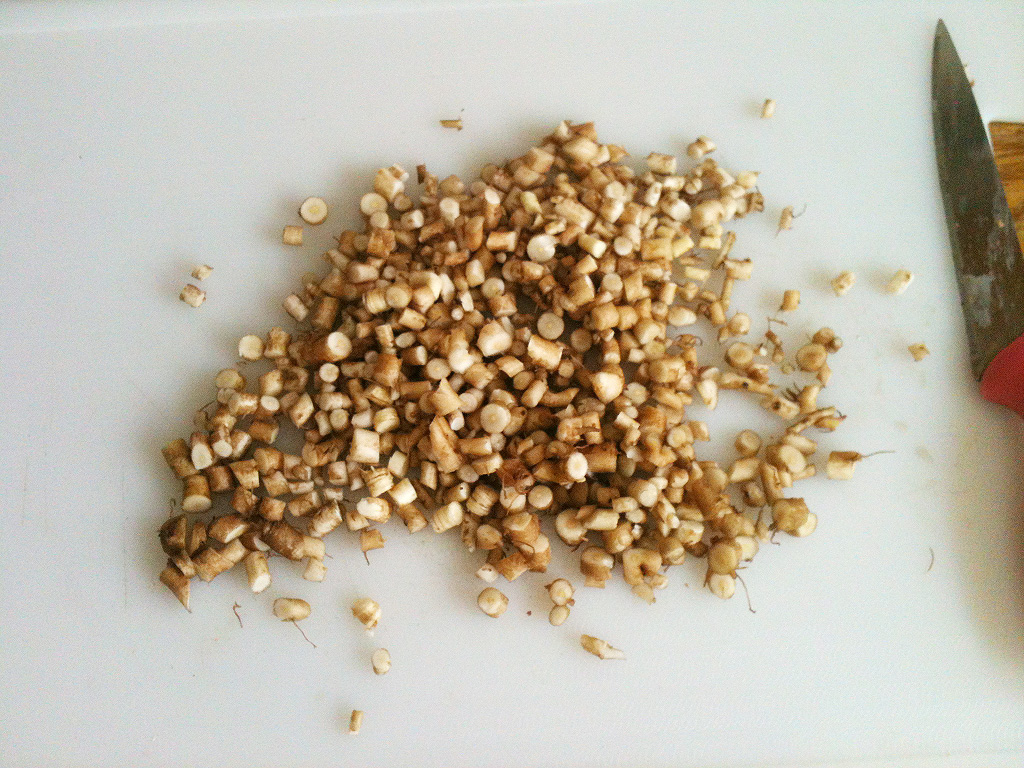
dandelion_coffee_2Another rinse in cold water, and then finely chopped, to help them dry out quicker in the oven.

On to a metal dish and placed in the oven at 200C for around 30 minutes, and the smell was lovely! Suz said it smelled like a coffee shop – I’ll take that as a positive 🙂 However, opening the oven door let a bit of smoke into the room, so I turned the heat down to 100C for another 30 minutes or so. In reality, this was an awful waste of electric for such a small amount, but it was an experiment.

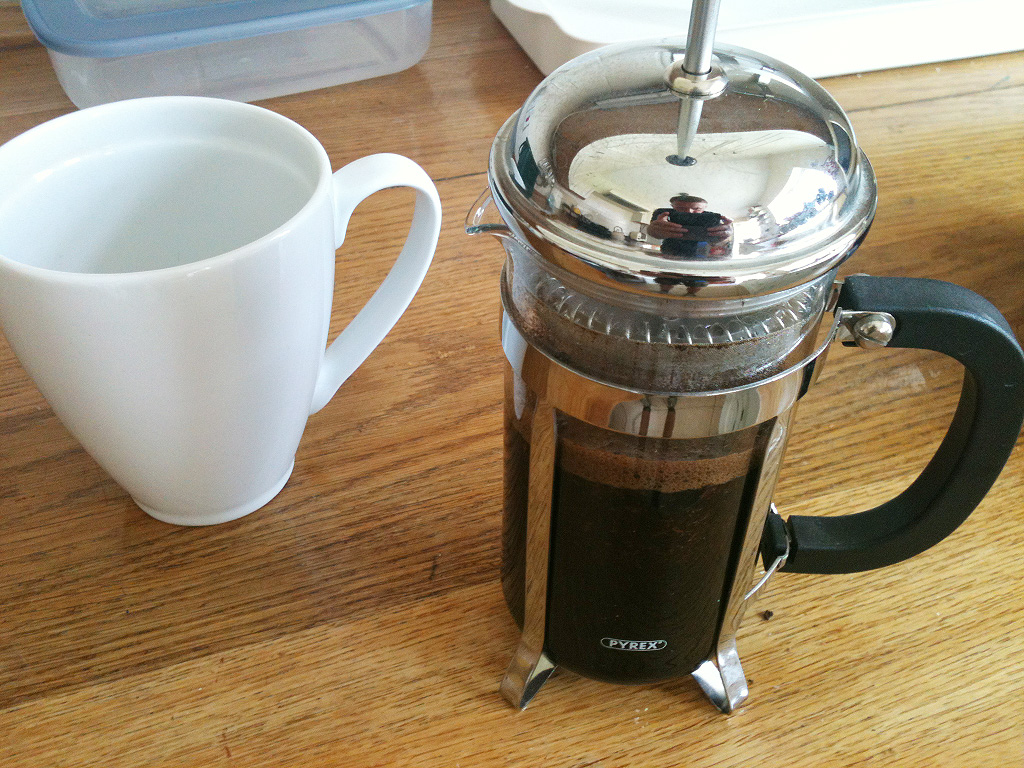
dandelion_coffee_3Once the small pieces were brittle under a spoon, I removed them from the oven and ground them in a bowl, using the back of a spoon. Again, on a larger scale you could use a decent sized pestle and mortar, or a blender. The resulting pieces, I assume, would be fine to store for future use. dandelion_coffee_4Having no idea how much I needed to use for a cup of coffee, I poured the entire bowl of grinds into a single cup cafetiere, covered with boiling water, and left for a couple of minutes. Then it was a quick plunge and pour, and sniff. It smelled a bit like coffee, a bit like chicory coffee, and a bit odd, which I assume might be the dandelion bit. Adding milk, to about a 50% mix (yes, it seems the amount of root I had could have provided for two cups rather than the one I made), and a couple of sweeteners, made a drink I was more than happy to take away with me!

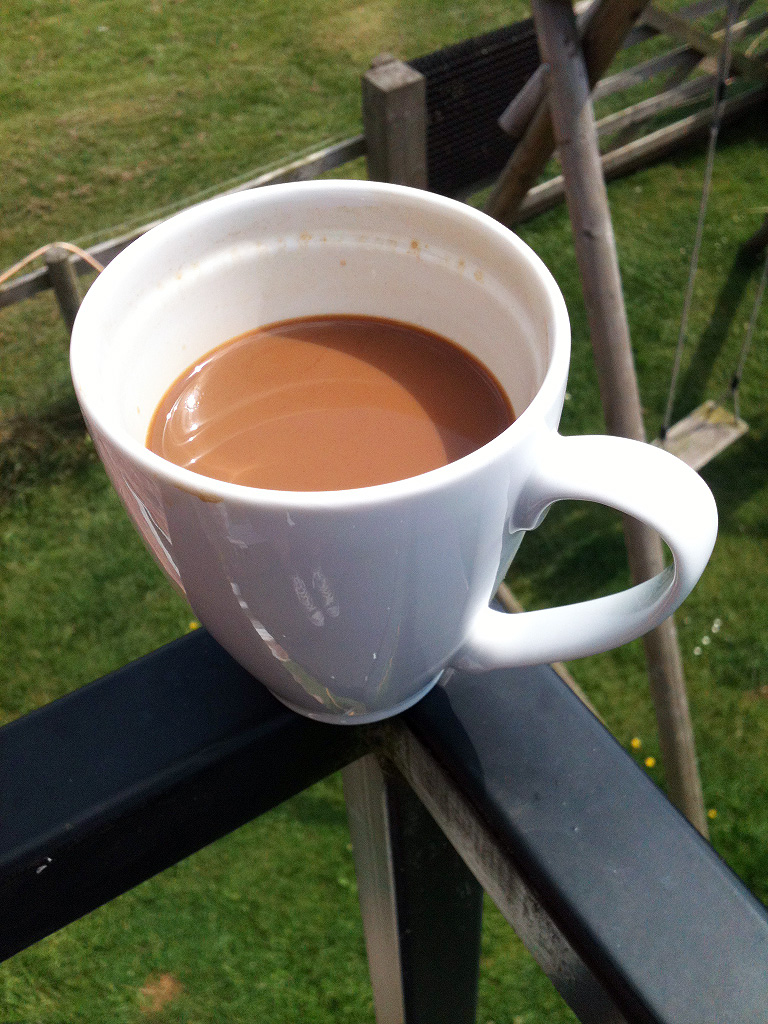
dandelion_coffee_6So here I am, typing this up, having just downed my first cup of home-made dandelion root coffee!

A lot of hassle, as are most things made and not pre-bought, but on a grander scale could well be worth the effort. Dandelion coffee cake? Hmmm…

The hay is made – finally!

Hay bags looking to the rightFive long days of turning the hay at every available opportunity and finally the deed is done. The last turn was carried out this morning, to dry off the underbelly of the windrows, and at 4pm the entire family turned out, armed with grass rakes and a box of 200 new recycled refuse sacks. Last year we filled 120 and a couple of tonne bags, so we thought we’d have a few spare. How wrong we were…

…At 9pm we had filled the hay barn we used last year, three bags high in places! And yet we still had more. The 200 refuse bags had managed to fit only two thirds of the Hay Quarter’s rye/timothy/clover hay, leaving us with no option but to fill our tonne bags as back up. Then we also had to pop round to the farm next door to borrow even more tonne bags! By 10.30pm, the garage was also filled with tonne bags, and the old workshop outbuilding was now home to around thirty refuse sacks of hay. Hay bags looking straight aheadI swear if we’d emptied our socks and shoes and trousers of hay that had made its way to any place hay can make its way, we’d have filled another refuse sack! Needless to say, this year has been a better year than last – the grass had grown longer with the great weather we’ve had so far this year. The seed heads are nice and big, and as we’d cut it long, rather than mulched, it’s a bit bulkier in the bag, which is better for air circulation in storage.

A late night snack for all the family and a well-earned drink, then sleep.

Hay making in progress

Suz & Penny Turning the HayThird day in and we’ve left the hay to dry out before another turn. They’ve been long days, no sooner had we finished turning it, we could have started again from the start, had we the time and energy. The forecast is decent for another two days, so in theory we’ll get five full days – fingers crossed the good old BBC forecasters have got it right!

Hay Cutting!

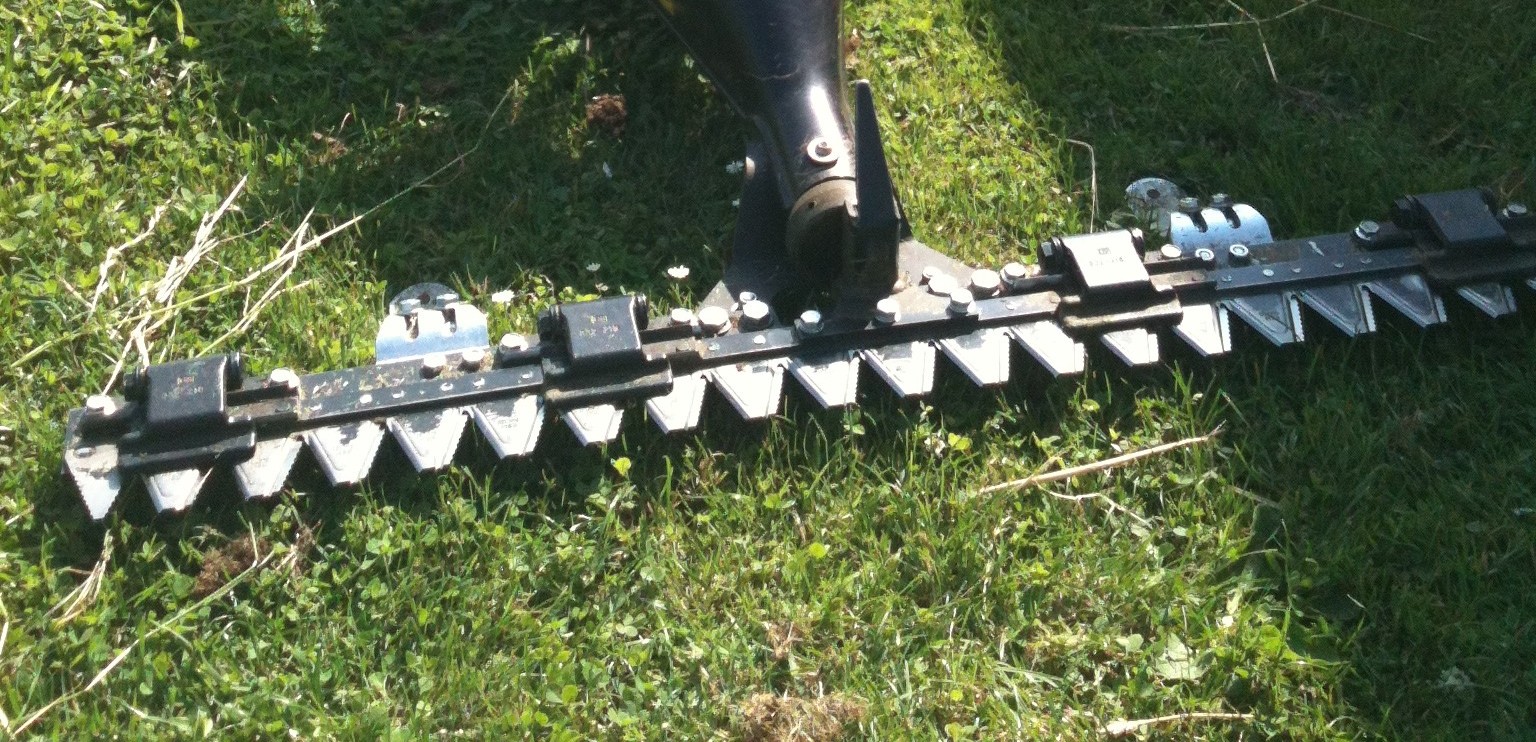
Finally the day is here! The forecast is decent for the next five days – the grass seed looks a decent size on the stalks, and the cutterbar is ready. Let’s rock! cut!

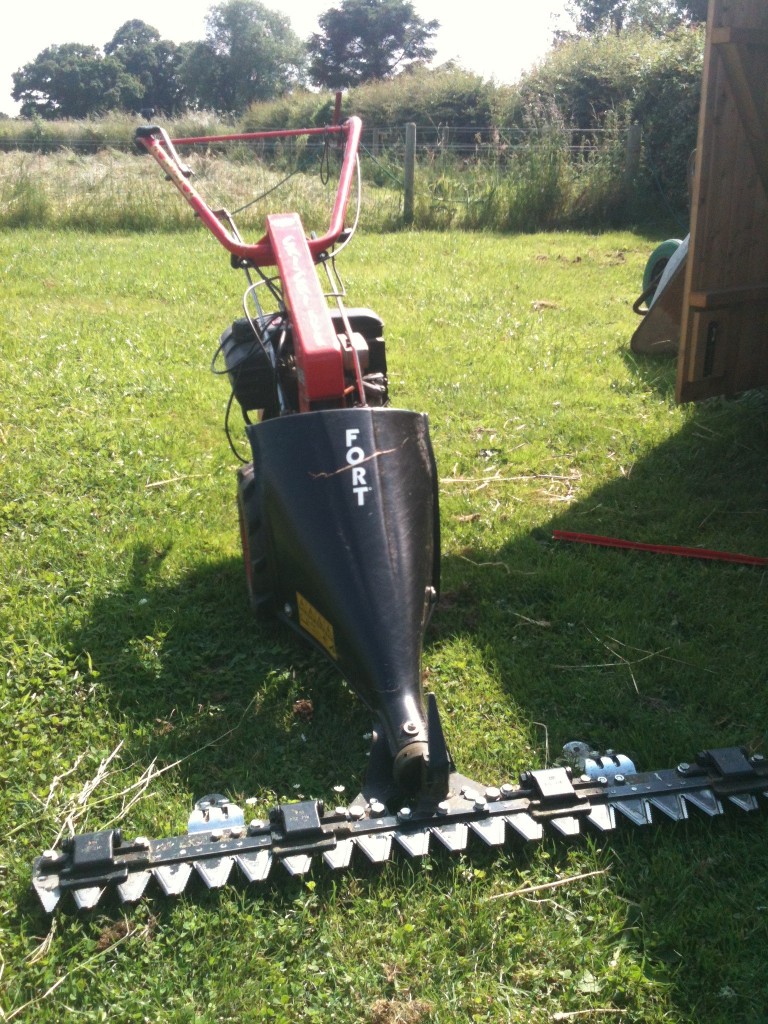
Our New Cutterbar

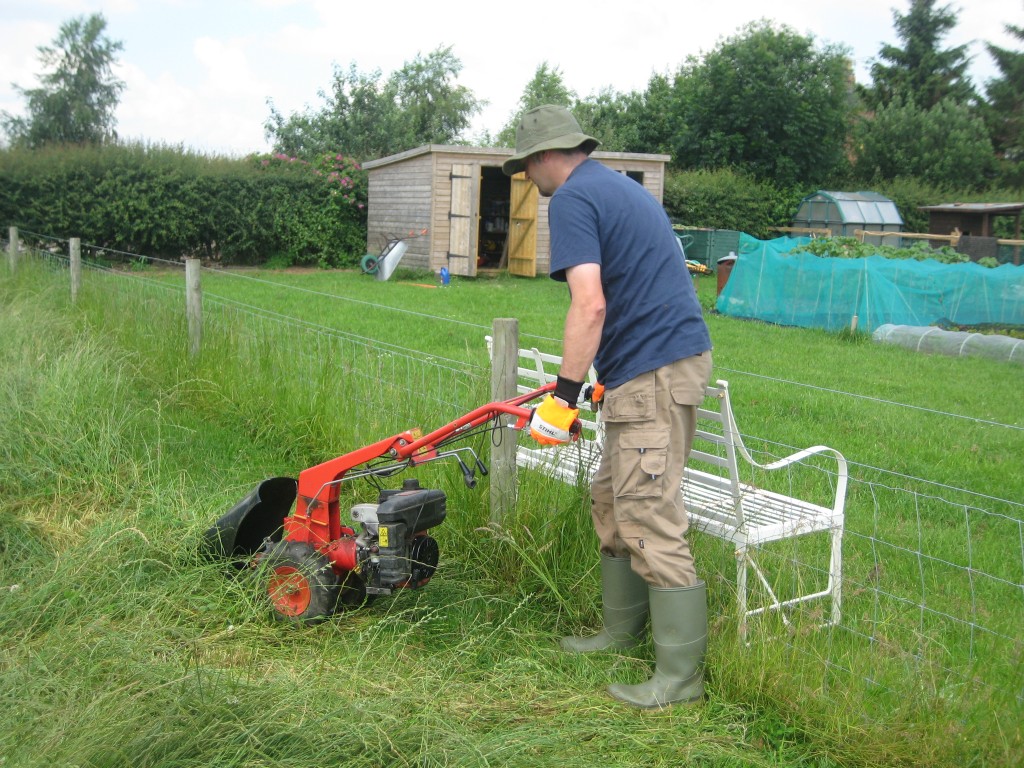
You may remember the post I made about our little Fort Cri-Cri Super, trying to get the rotavator parted from the Power Take-Off  after it had obviously sat on it since the day it left the factory in 1998? Well, The Beast, as it is fondly known, had another surprise up its oily and rather grubby sleave. I’d always bemoaned the fact that as you rotavate, you need to walk through the lovely soil you’ve cultivated as the handles point backwards. Well, the arrival of the new cutter bar meant we had to rotate the handles somehow so that they pointed forwards, removing the very likely threat of neatly shearing the operator off at the calves by the cutter bars as the engine needed to be at the back with the cutterbar, as opposed to the front with the rotavator attachment.

Of course, I figured it was as easy as lifting the pin that kept the handles in place, un-hooking the clutch and accelerator cable, rotating the handles and snapping the pin back in place. How wrong could I have been. Common sense should have blinked into life – why would a PTO seize up after 16 years of neglect, yet a handle remain perfectly lubricated? Answer – it wouldn’t!

Fort Cri-Cri Super with CutterbarOf course, this time we knew what to do. First we must pull, really hard, on the handles, in a futile attempt to make them move. Then we must hit them a few times – hard enough to bruise the sides of our fists – followed by the swearing and cursing phase. That’s an important one – it helps a lot, with the pain. Finally, we must grab a large piece of wood, a lump hammer, and hit the proverbial out of the piece that won’t budge. Only once we’ve hammered through several pieces of 4″ x 4″ post, mangled our thumbs in the process, and removed much of the red paint from the metalwork, must we resort to the oxy-acetlylene torch that worked last time. Two minutes heating up the shaft with Clive, our tame ‘man-that-can-when-I-can’t’, and it was off. Obviously the preceding hours of me bashing it black and blue had loosened it enough to let the torch do its work.

A good papering with emery and some new grease and it’s back to new again. In the course of putting it all back together I discovered that the handlebars actually have several positions, offset from centre. The result is that next time I use it to rotavate (I have some headland to resow at some stage) I can stand to one side whilst doing so – ingenious!

So finally the cutterbar could go on, and we’re ready for the hay making!

The upside to owning this particular older 2-wheel tractor is that the manufacturer, Fort, is still going. Last year, once I had realised we’d bought a 2-wheel tractor rather than a one-trick-pony rotavator, I attempted to find a supplier of bits for it – accessories and so on. All to no avail – it’s an Italian manufacturer, and it was a struggle, really. This year, knowing it was a pain to find someone last year to cut our hay, I sat at the computer even longer, searching for someone who could help and lo and behold, since last summer a new UK dealer had cropped up! Even better still, they’re head office is not far from us – Rapid Tractors at Tutbury! It turns out our little Cri-Cri Super is the old version of the new Serie 280, and all the parts fit! Our motor might struggle with something like the baler, but at a few thousand pounds it can rest well, knowing it will never be asked to power one! Hence the new cutterbar – 122cm of pure evil teeth – can’t wait to get stuck in!

Root Crops

Another scribbled mental note – these are so useful for the following year, to get a feel for the plants that do well here. The day began with the usual dandelion beheading – another barrow full, then watering the new fruit trees in as it’s been a dry week so far. The strawberries and raspberries had some of the lovely manure donated by Ken spread around their bases, as did the rhubarb and gooseberries. The geese had their full clean out – fresh straw in the houses, ponds emptied and refilled.

Then on to the root crops. This plot hasn’t been manured, but the squash stations will have plenty added just before they go in later in the year. For now the stations will have cloches dropped where the plants will go, to help warm the ground up. The seed that went in today were one 9′ row of Flyaway F1 carrot, three rows of Boltardy beetroot and three rows of Hollow Crown parsnip.

All root crops were netted against the dreaded pigeon, sparrows and rabbits. Or row of peas were also netted, but we need to rethink the layout of the peas and beans to make netting easier. Whatever the case, we need more netting!

The final job of the day was to water in all the seeds sown over the last two days – that was over an hour’s job as the onion patch was also beginning to look a bit parched. As were the strawberries, rhubarb, gooseberries and currant bushes. A quick check on the chicks, who have now taken up residency in the garage as the fluff and dust produced by week two was just too much to keep them in the house, and 10 o’clock saw me finally stumbling in, to a warm fire and mahoosive mug of sweet tea. Perfectamundo 🙂

Hedge Base Cleaning

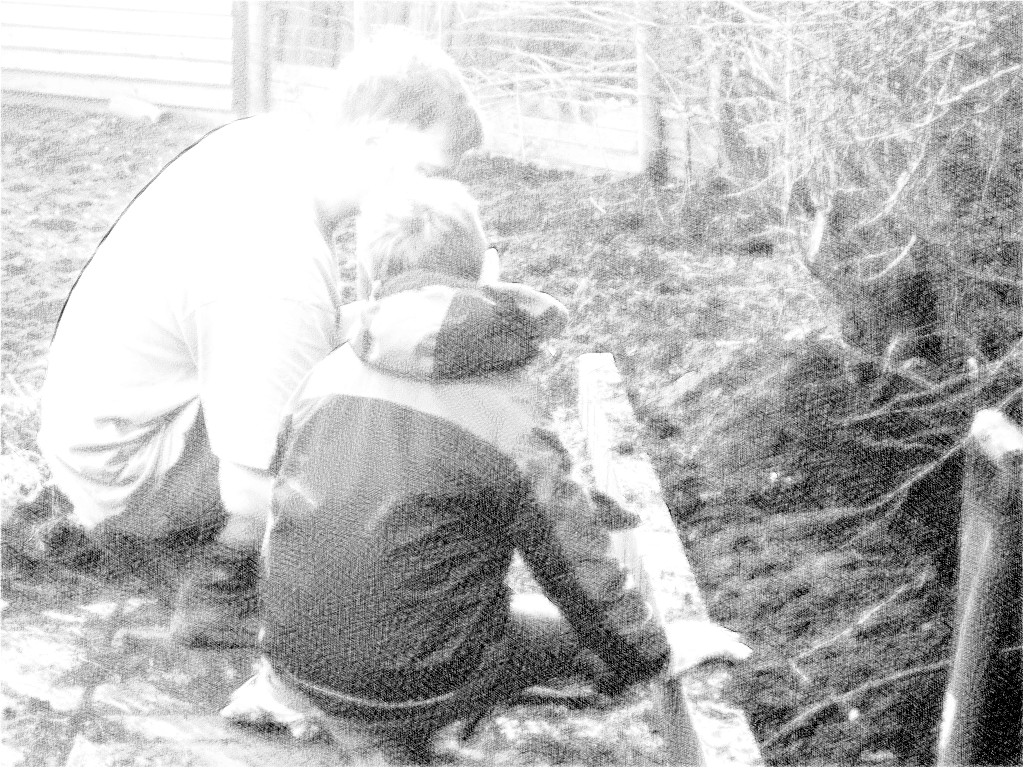
2014 Hedge Base ClearingThere are always those little odd jobs that need doing. A space between the path to the Patch and the old hedgerow was covered in nasties – mainly ivy, nettles and something I didn’t recognise but had roots as large as parsnips, with none of the pleasant odour. So Suz and myself cleared it with forks, hoes, spades – anything really to get rid of as much as we could possibly find. The fun part was the fact that this portion of the hedge was used as a midden by the Victorian inhabitants of the cottages, so we’re always unearthing things. Here you can see myself and Smiler sifting through the soil – I’ll post the finds up when I get some photographs of them – but in a nutshell we found a Victorian bleach bottle, a few glass beads, a mangled coin celebrating George V’s coronation and a rather lovely little bottle.

As ever, Penny made sure our work was up to scratch.

New Fencing

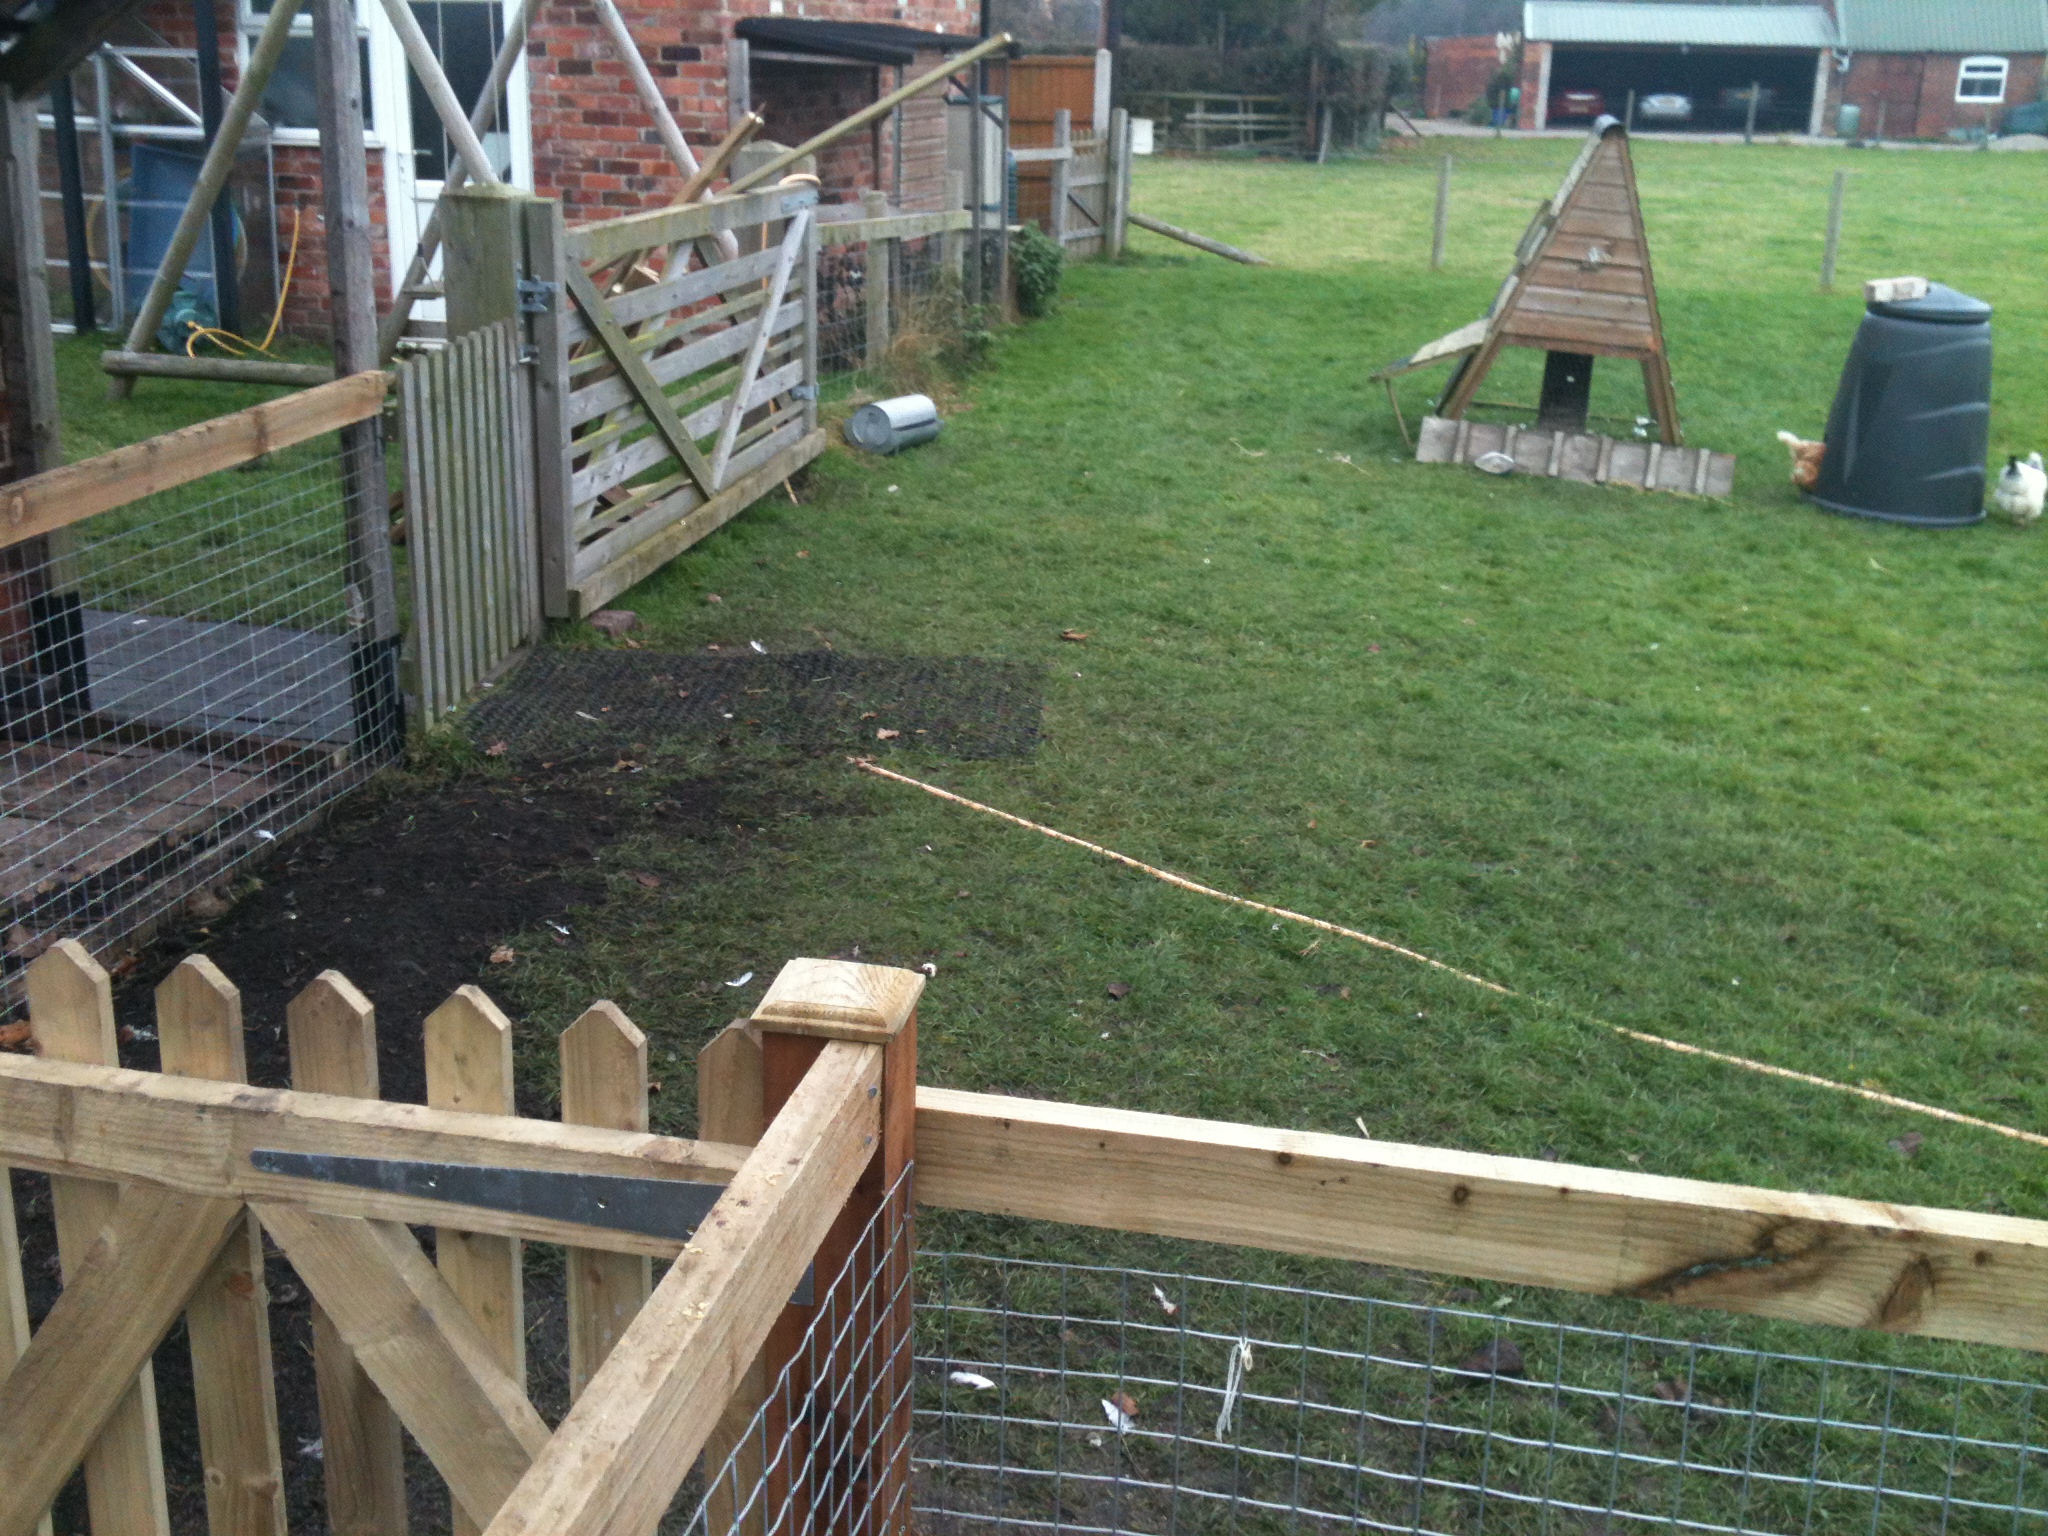
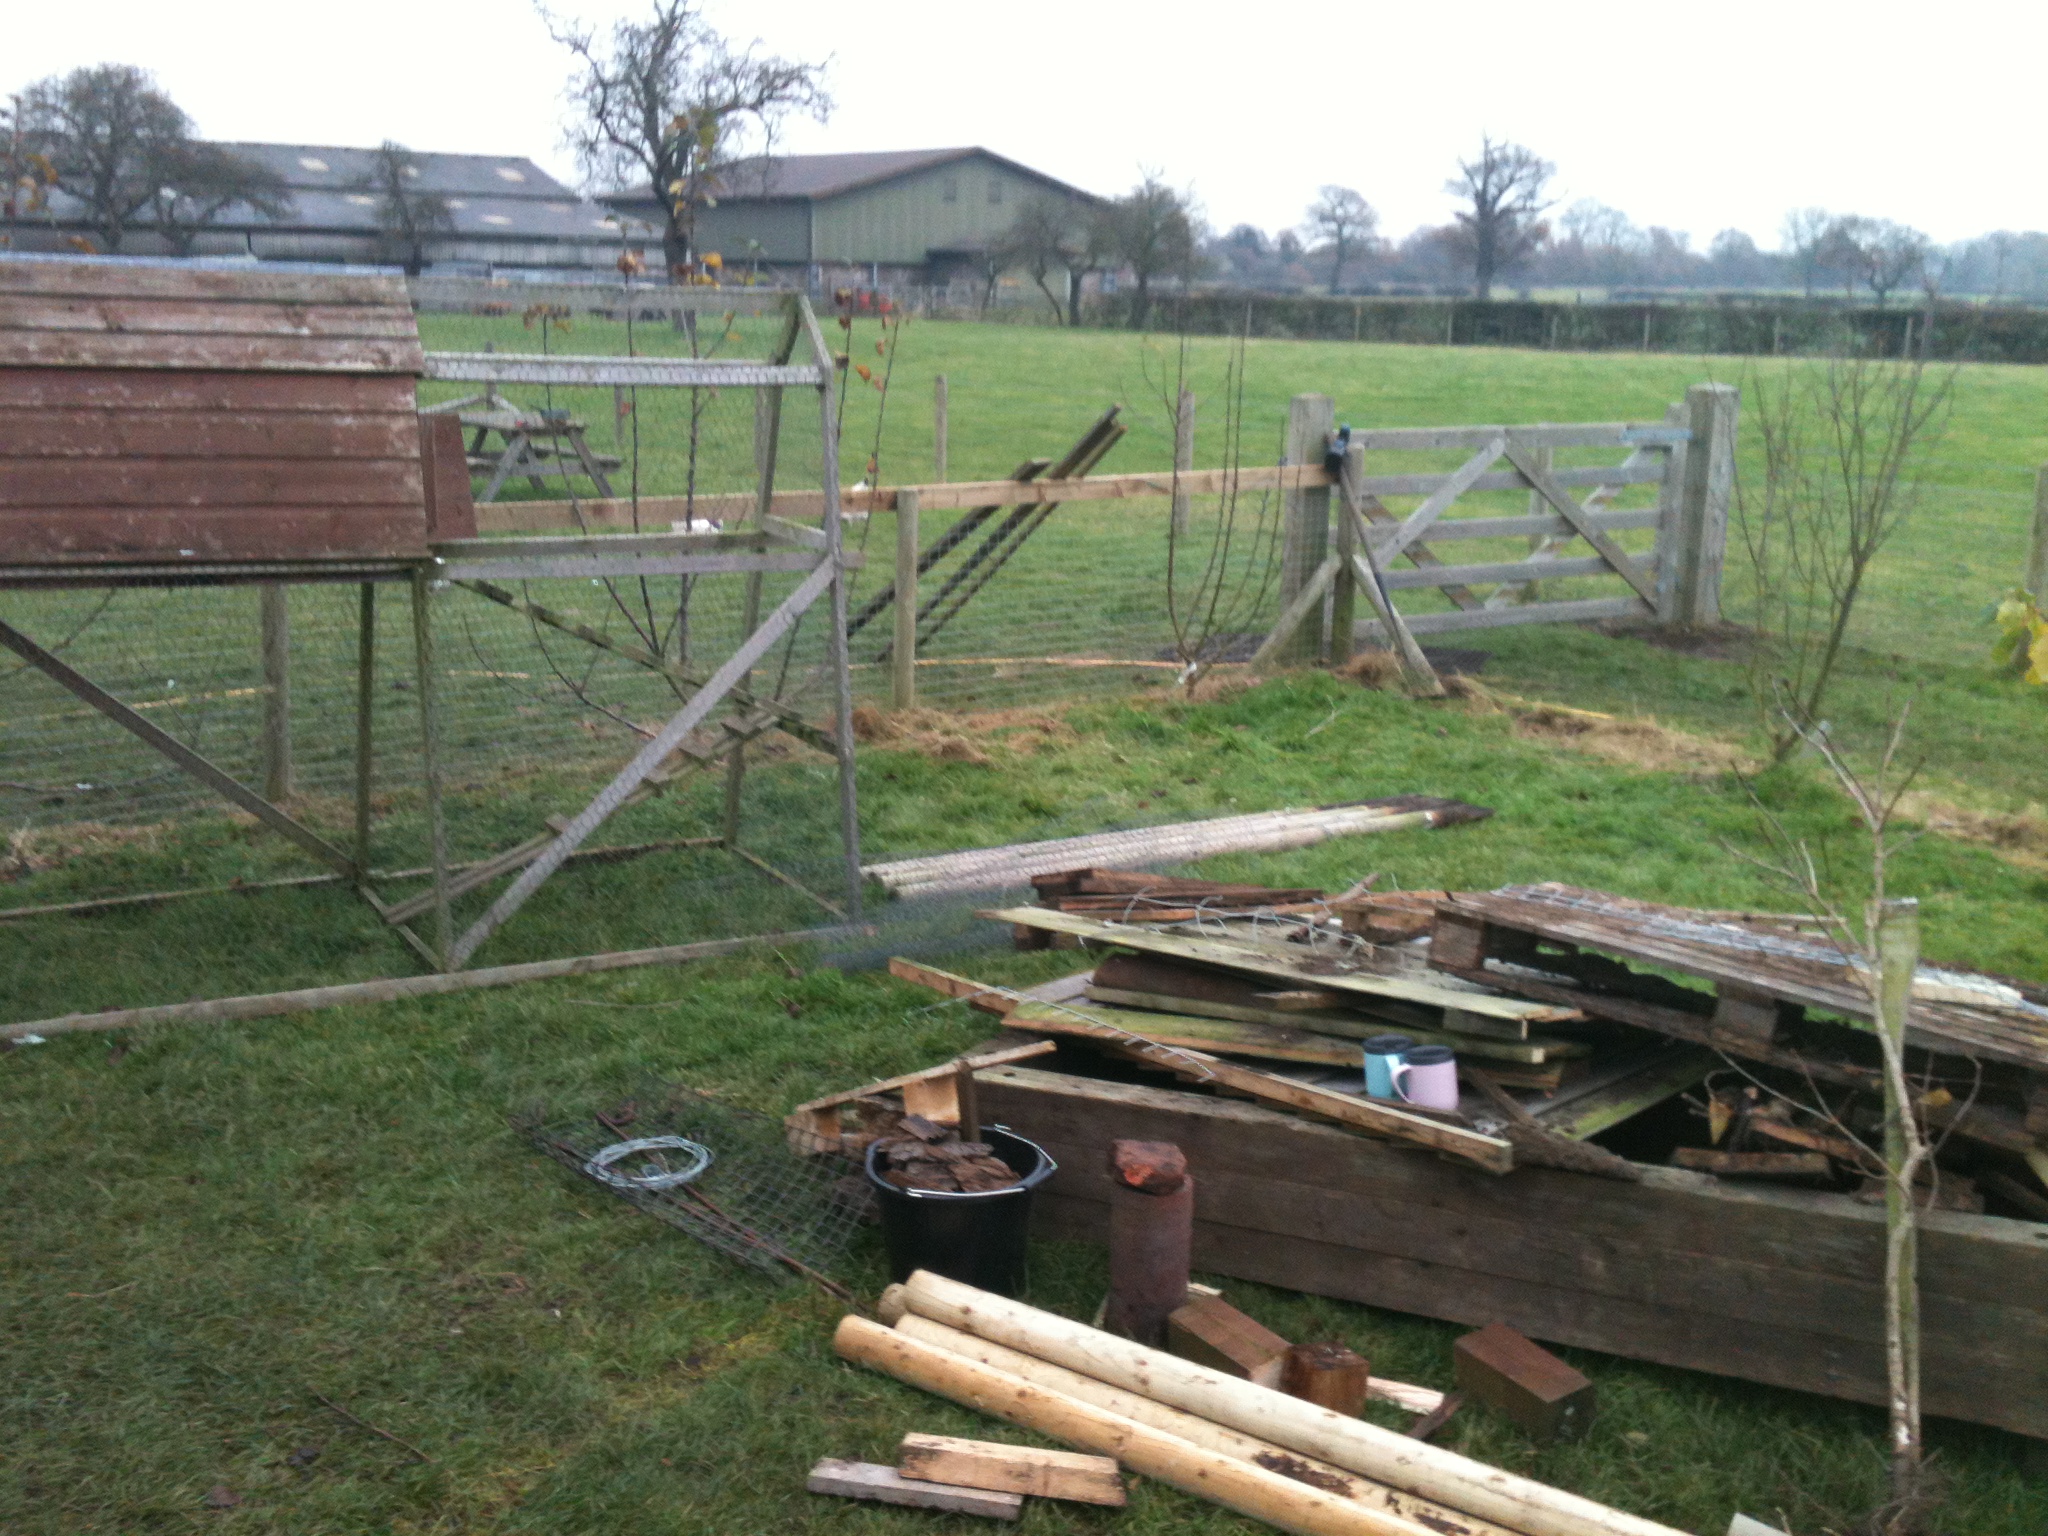
Wanting to bring the chickens closer to the house over winter, we decided to make some chicken/duck proof paddocks at the back of the cottages, using weldmesh fencing. At the moment we have a partially temporary hard surface running along the paddocks, but we’ll lay a blue brick path to join the two areas that are already bricked, to help cut down on the mud-trunching in the winter!

Come spring we’ll seed the bare patches. The blue brick path will be laid where there are currently temporary yellow slabs, and the top soil we’ll remove from there will be added to one of the paddocks where the five-bar gate is, as the ground has a low spot which holds water in winter time.


Paddock Fencing NorthwardsPaddock Fencing North Eastwards Paddock Fencing Southwards Paddock Fencing Northwards Close